Overview
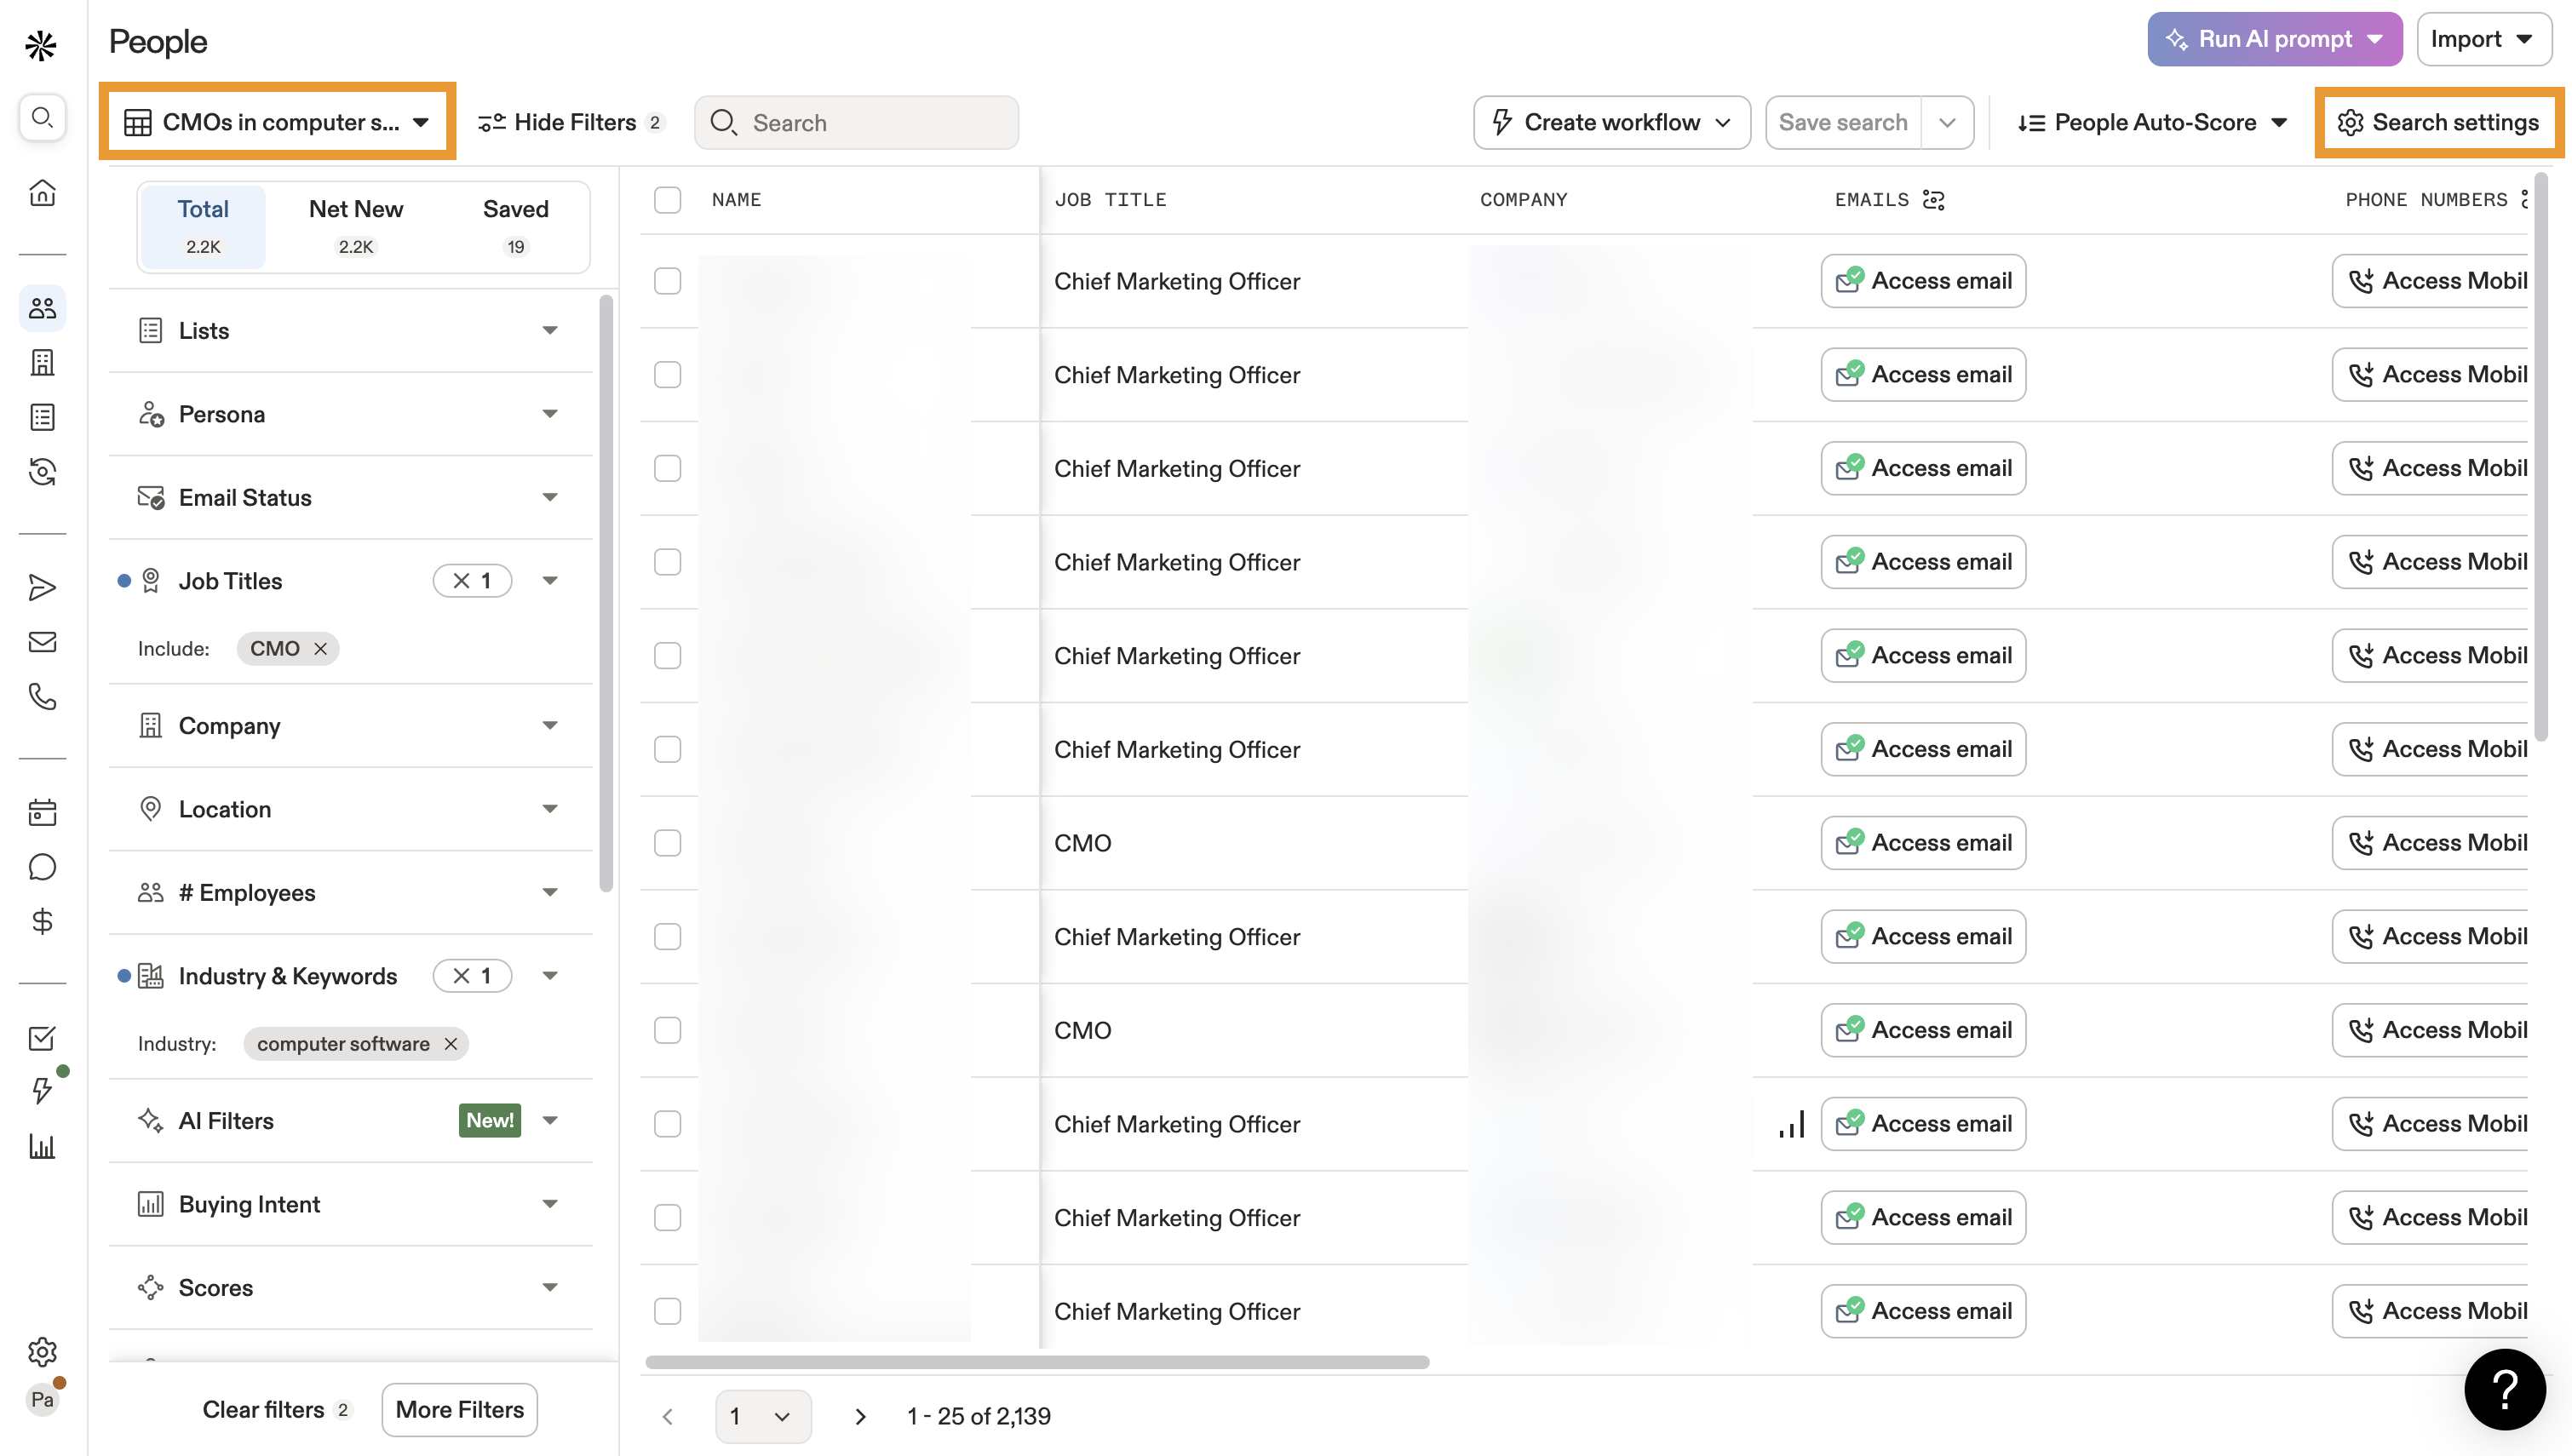
Use table layouts to customize the data you view when prospecting in Apollo. You can create private and public custom table layouts for your specific use cases and apply them to new and saved searches.
Whether you manage a go-to-market team or are a solo selling machine, if you use the Apollo search tool, you can take advantage of customized table layouts.
Example Use Case
The information you want to view in a search varies from use case to use case. Here are 2 examples that help demonstrate why you might want to customize your table layouts when prospecting:
Let's say you are a sales rep. You create a saved search for contacts in North America actively searching with buying intent. You want to engage with net new contacts that have matched the criteria in your saved search in the last 24 hours. In this search, you might want to view the contact owner, the lead status, and the date they entered the pipeline.
Now let's say you are a sales leader. You have asked your team to create a list of the contacts they will invite to an upcoming webinar. In this case, you might want your reps to view a table layout that includes contact status, SDR owner, account tier, and perhaps a custom field for subscription status.
Please note, you don't need admin access to create and apply custom layouts to your searches. However, only admin users can create public custom table layouts and access the "table layouts" tab in the settings. If you have a great idea for a new table layout for your entire team but don't have admin access, reach out to your team's admin users to make the magic happen.
Refer to the sections below to create new custom layouts, manage your layouts in the settings, and apply a custom layout when prospecting.
Create a New Custom Layout from the Search Page
Psst—you can also create a new custom layout from the settings page. The steps are the same wherever you decide to get creative! For more information about "table layouts" settings, hop on down to the "manage your custom layouts in the settings" section below.
Launch Apollo, click Search, and then click the People or Companies tab.
Click the Table Layout drop-down, then click + New Layout.
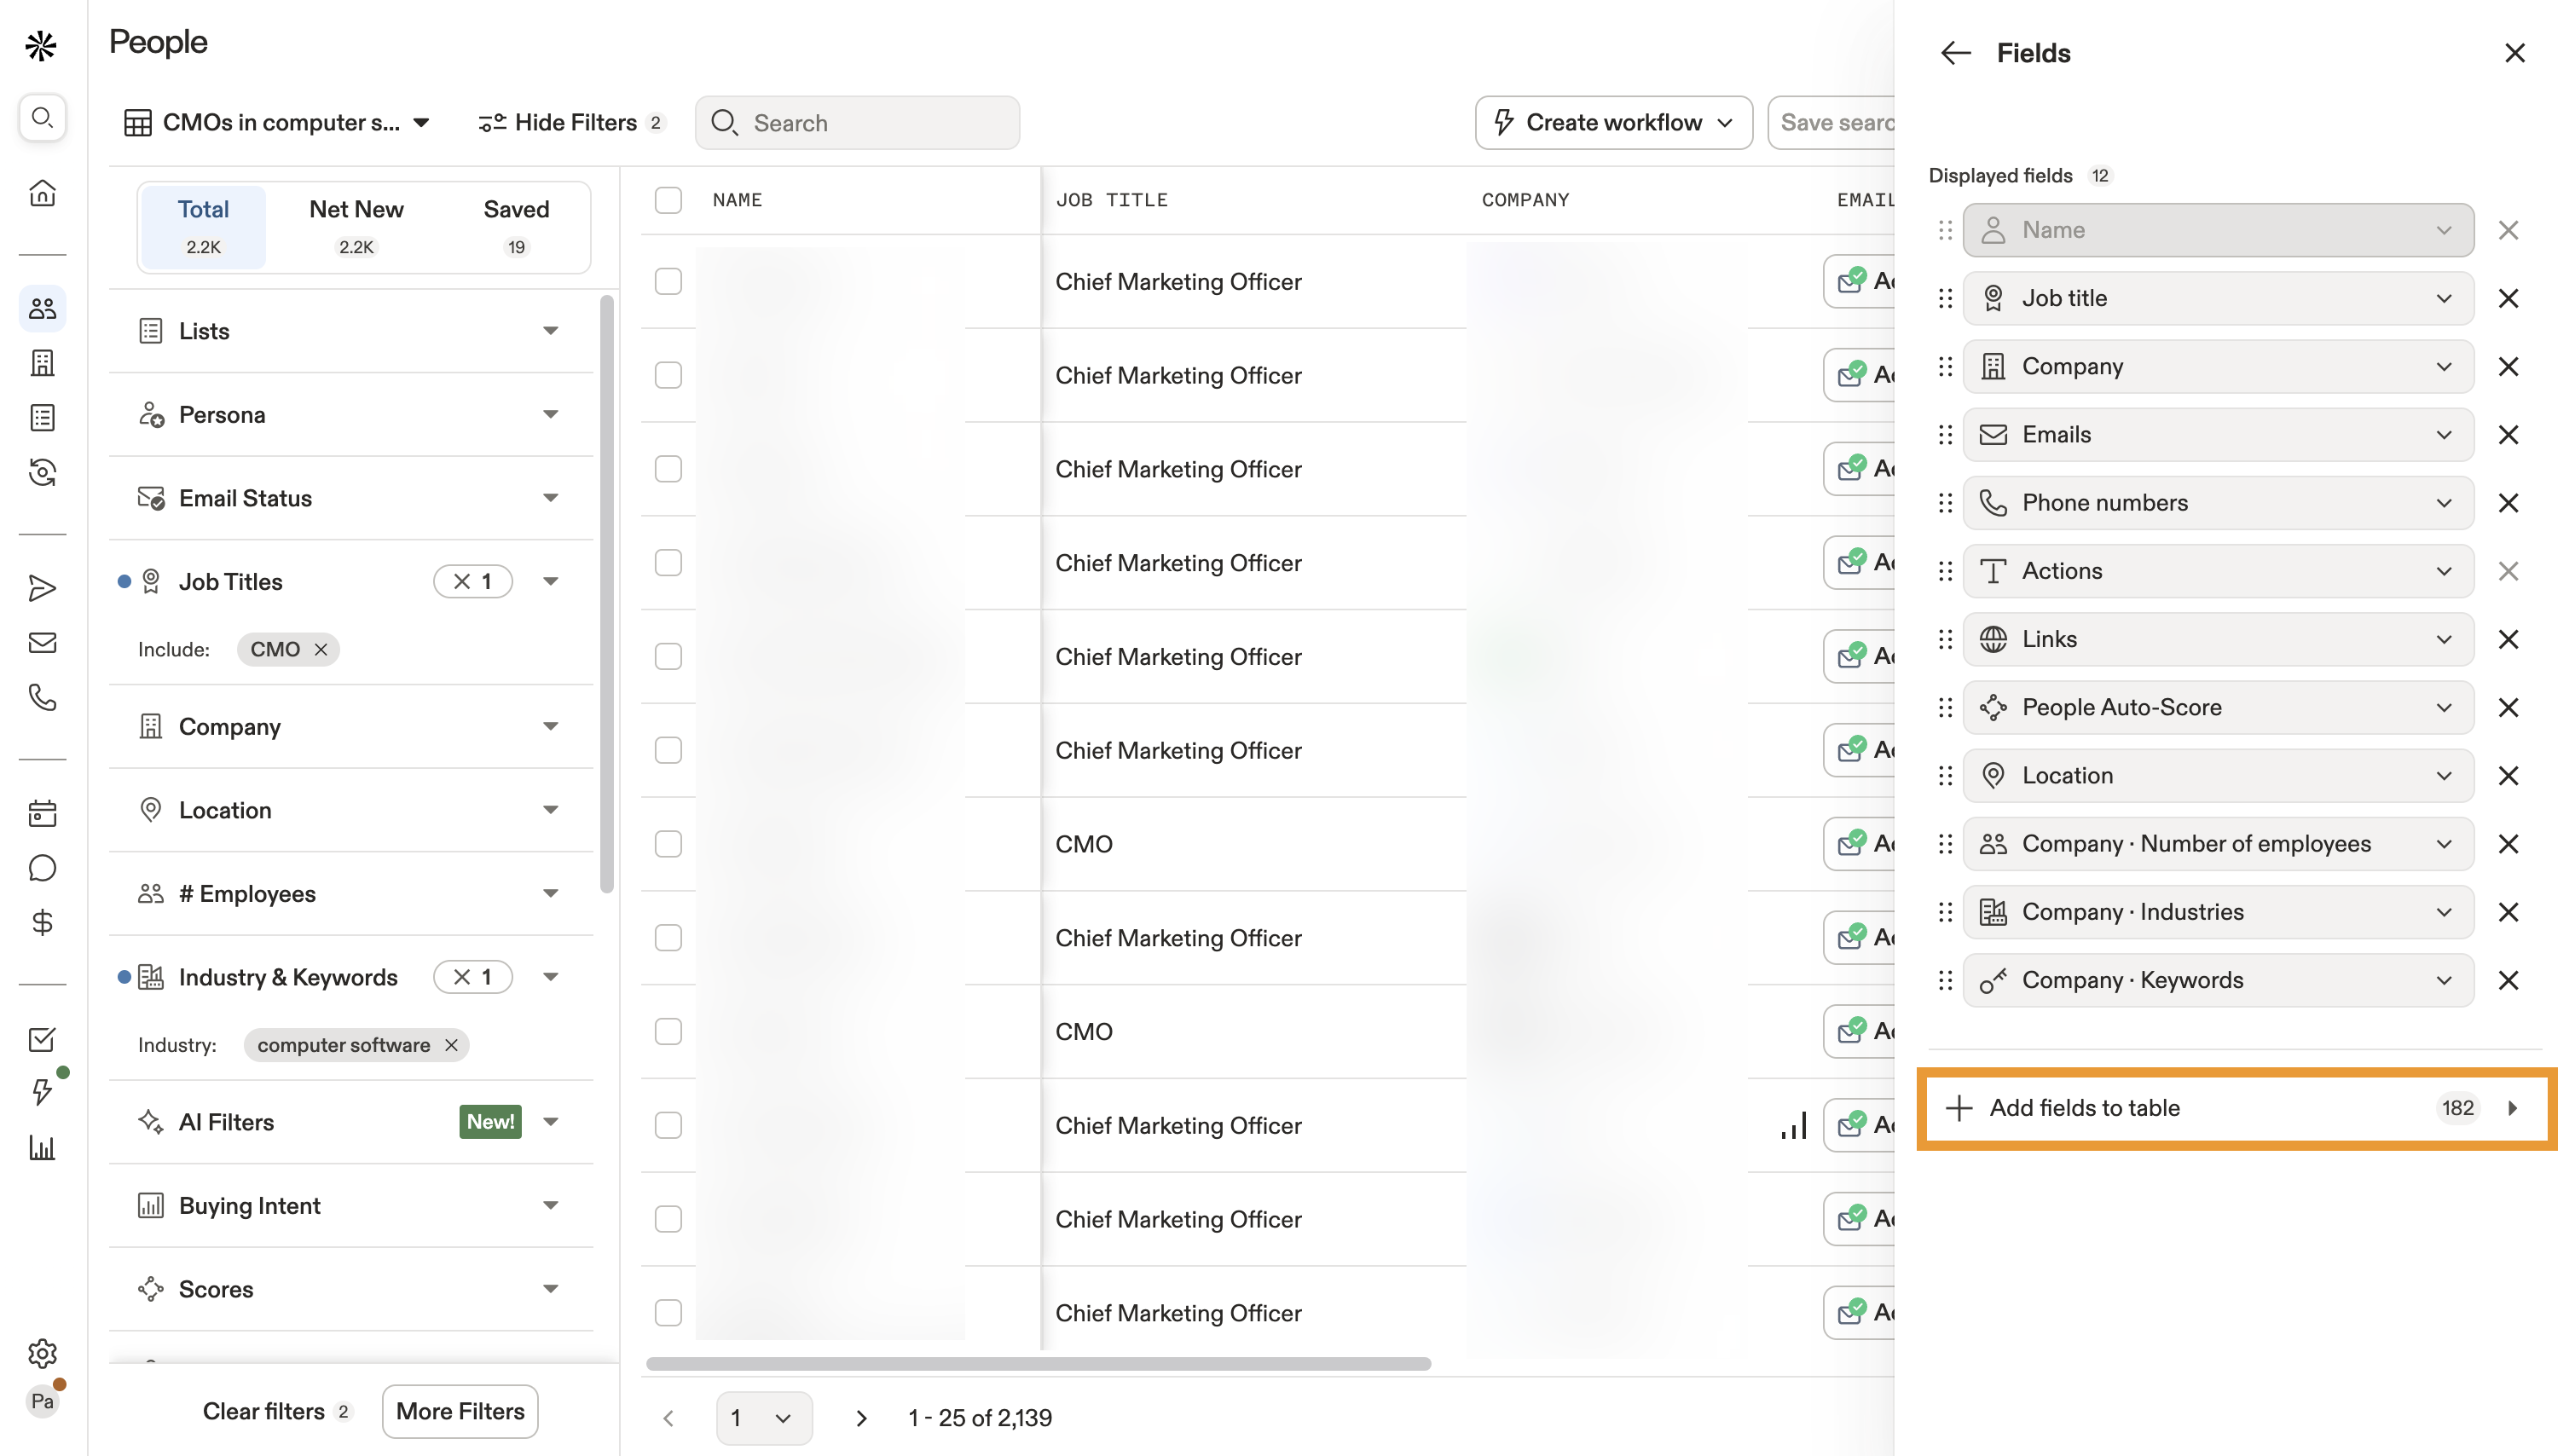
Use the Layout Columns tab to decide which columns you want to view in your custom table when prospecting.
To disable one of the default columns, click the checkbox next to the column title. Apollo removes it from the selected columns.
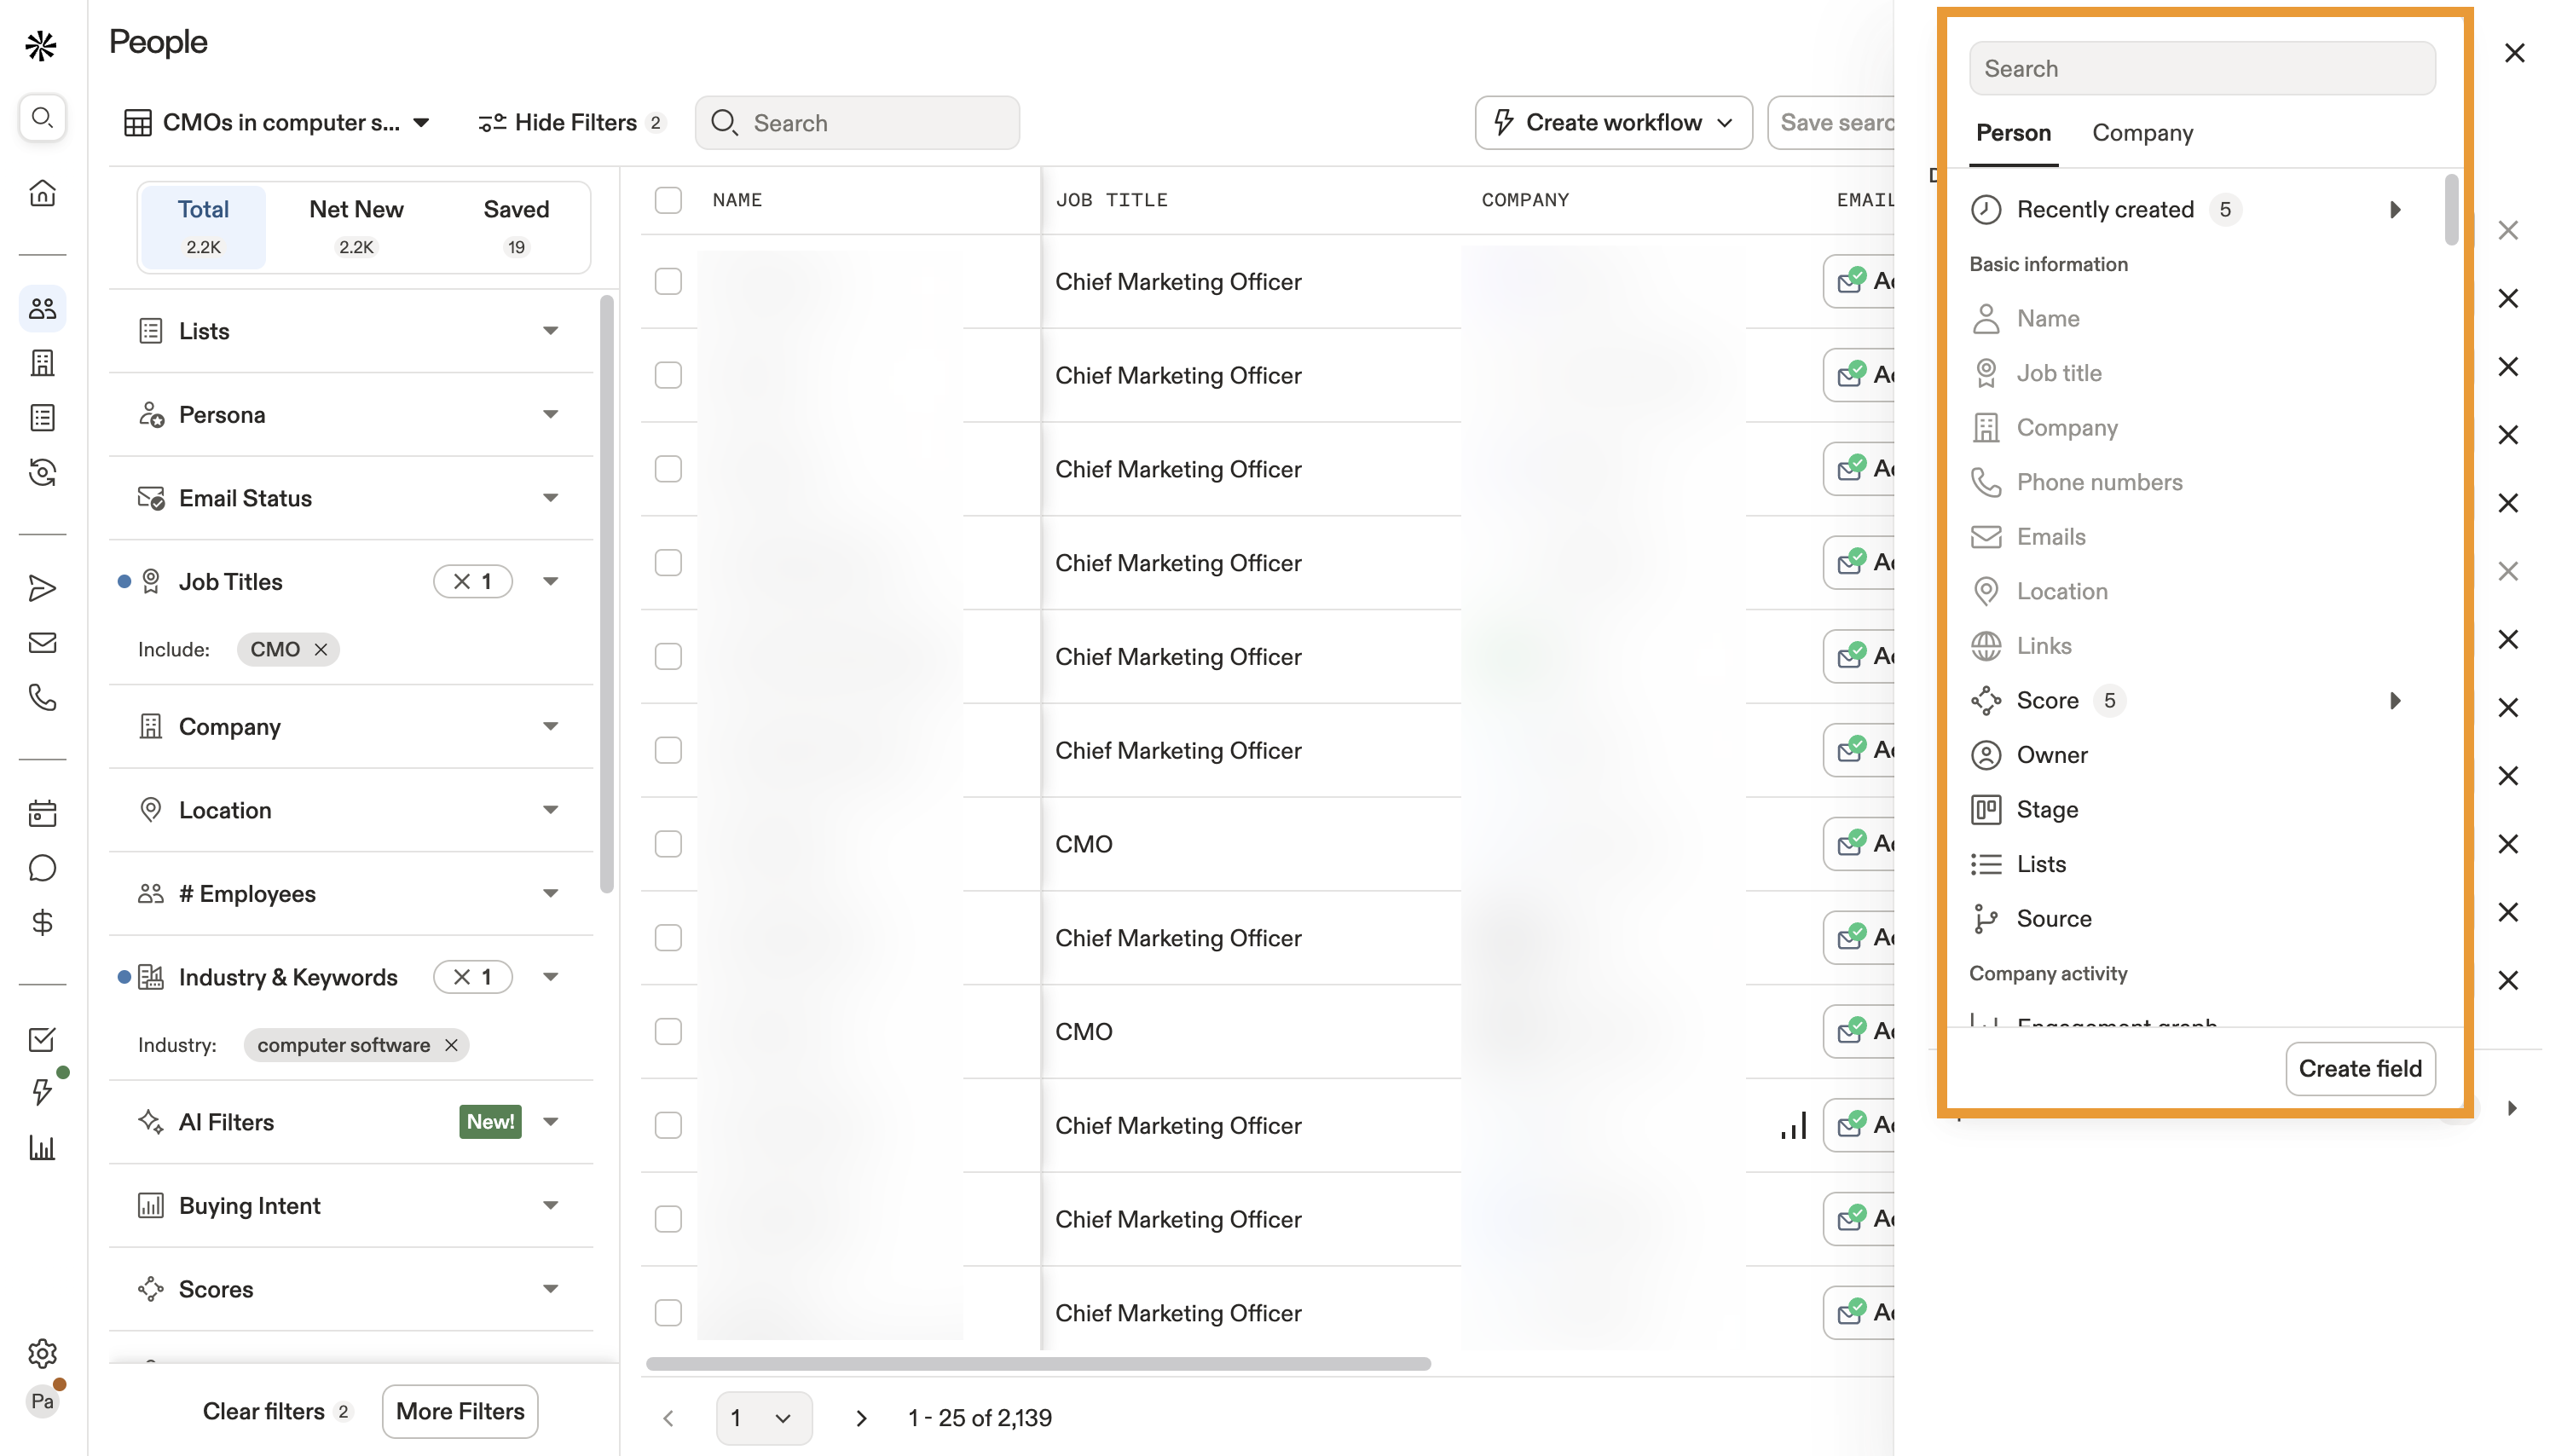
Scroll to the categories and click an accordion to expand your options.
Click the checkboxes next to the columns you want to add to your table. Apollo reflects the changes in the preview on the right.
Layout Columns
There are 4 default columns that you cannot disable from your table layout:
- Name
- Actions
- Title
- Company
Apollo divides the columns that you can add or remove from your table layout into 4 categories:
- Contact: Columns such as the city in which the contact lives, the contact owner, or stage
- Account: Columns such as the account owner, stage, or company location
- Contact Custom Fields: Columns such as contact role, department, age, or any of the custom contact fields you have created in Apollo
- Account Custom Fields: Columns such as yearly fiscal review, account add-ons, or any of the custom account fields you have created in Apollo
Please note, when you create a custom table layout for a companies search, there are only 2 default columns that you cannot disable—"company" and "actions." You can also only select or remove the "account" and "account custom field" columns from the "layout columns" tab.
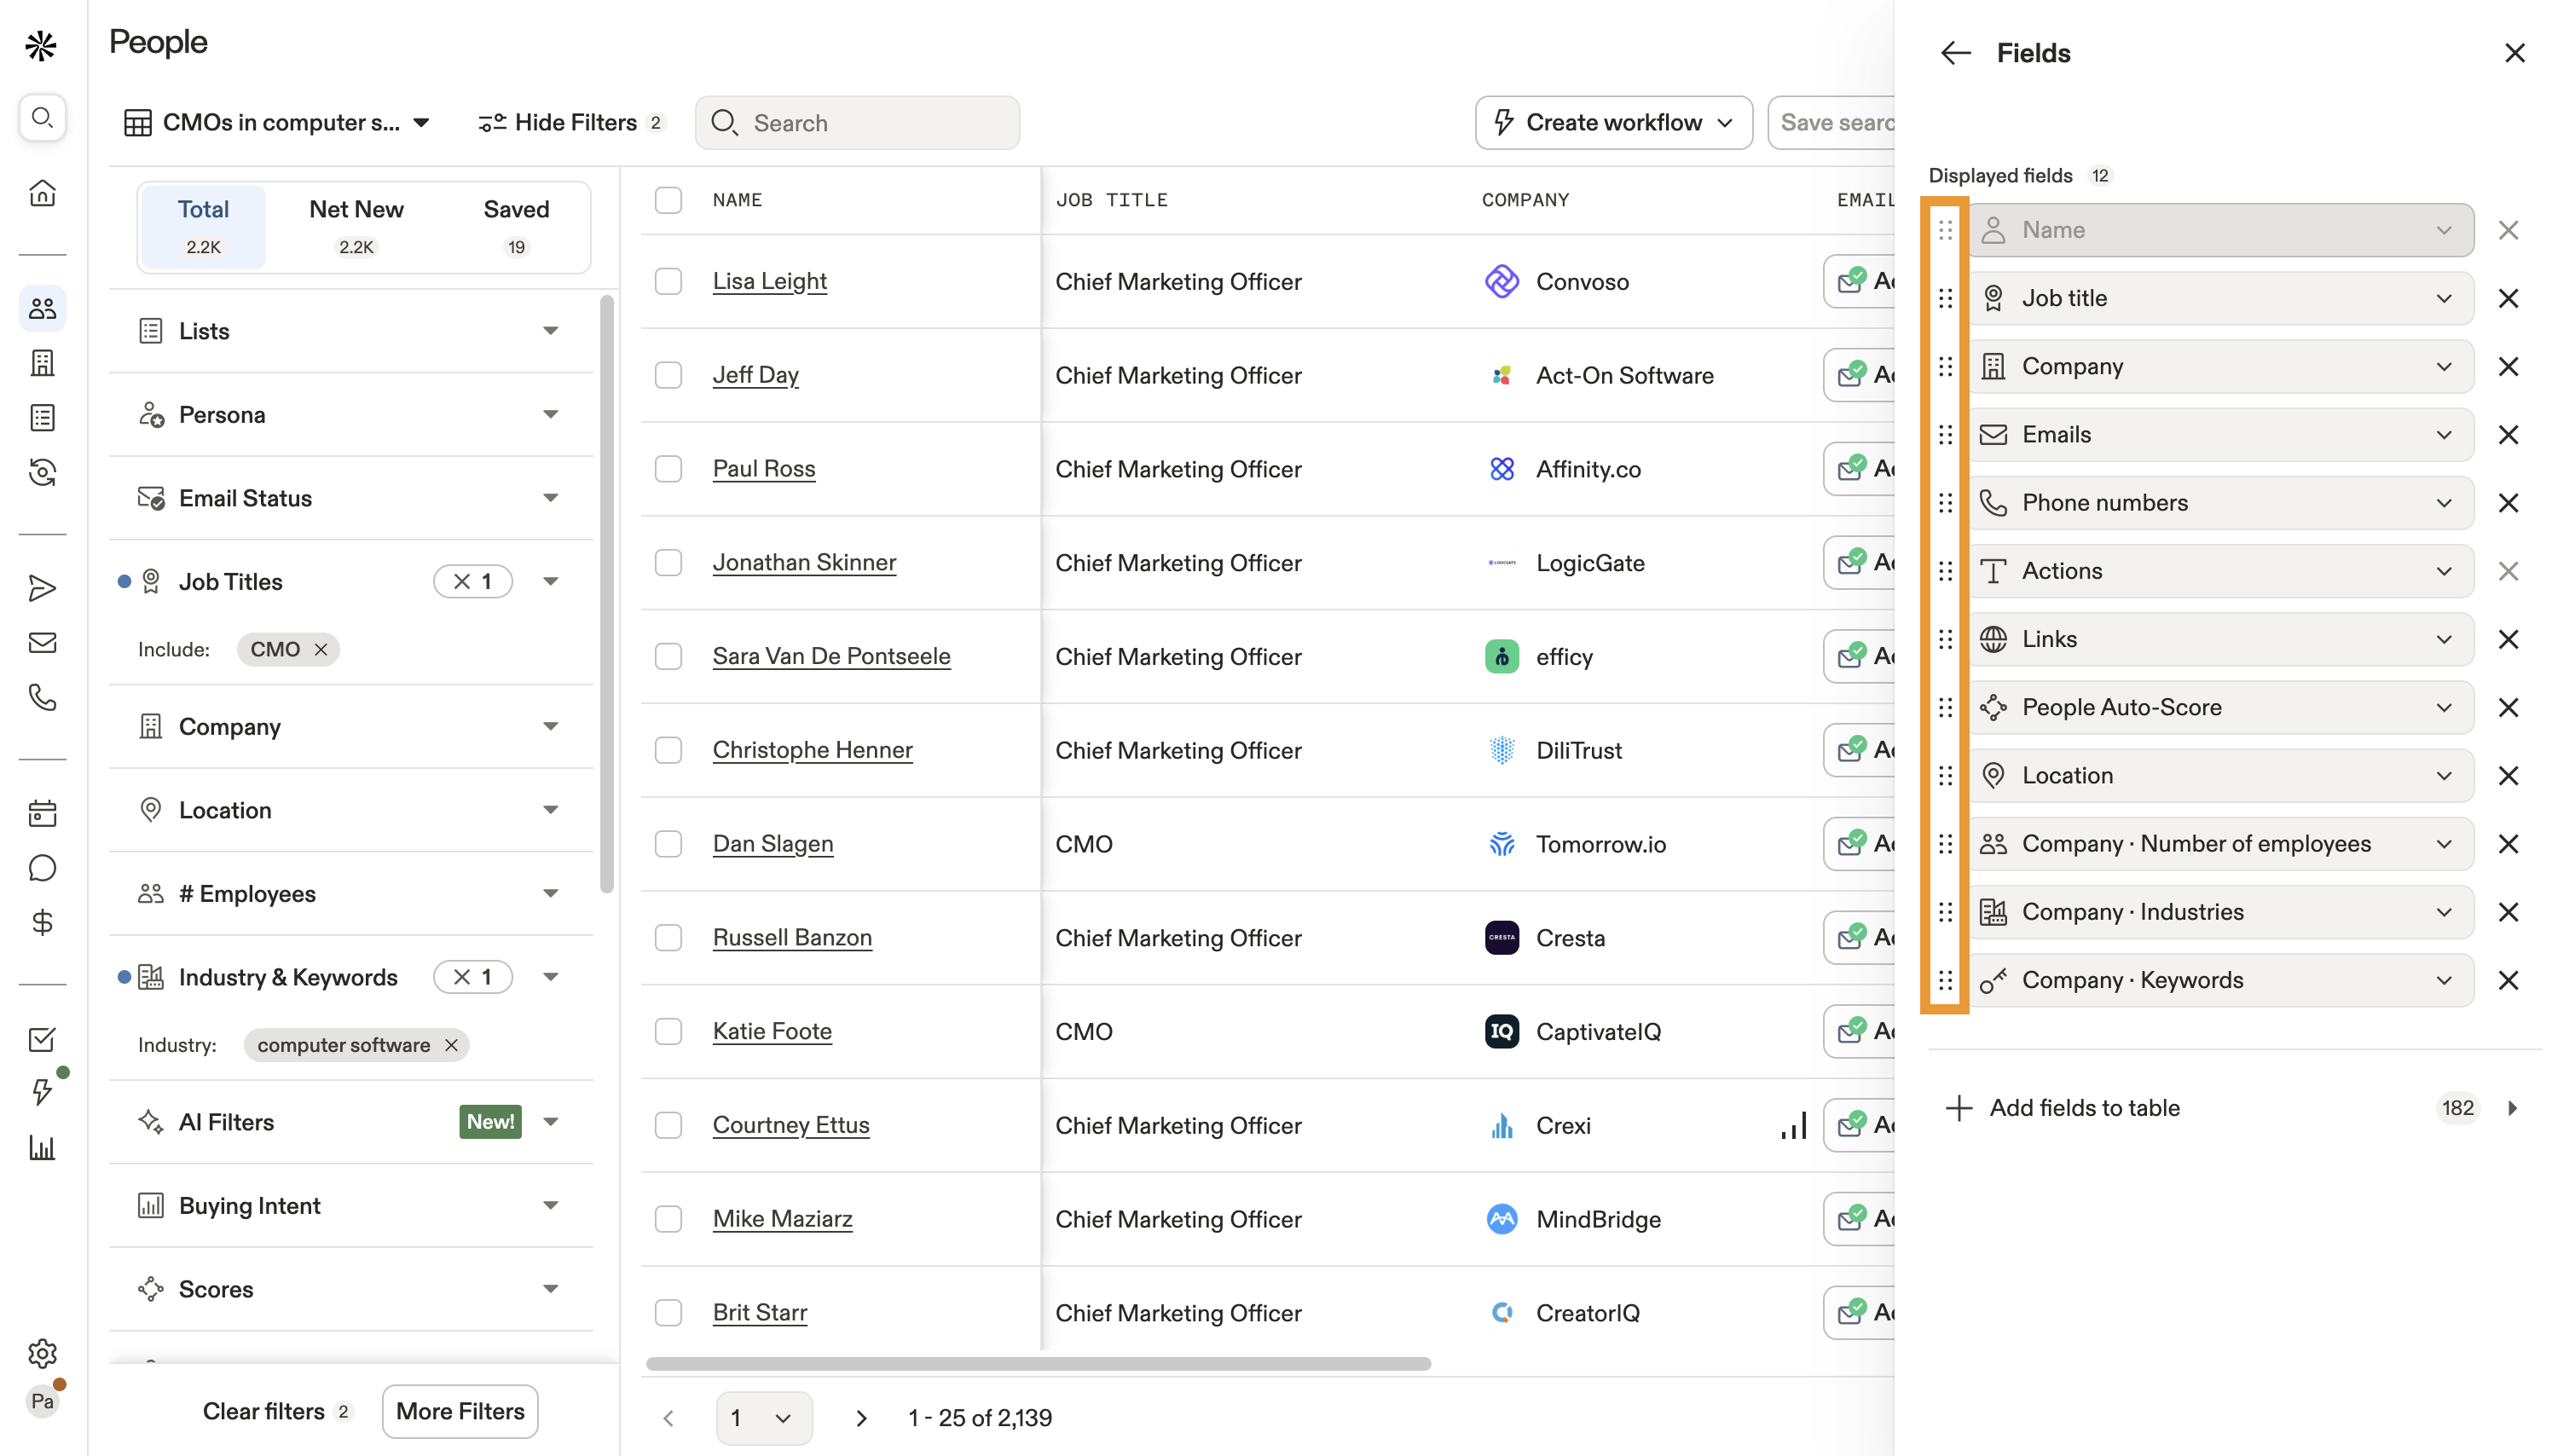
Drag and drop the selected columns into your preferred order.
The first column on the list appears on the far left of the table.
The last column on the list appears on the far right of the table.
When you have finished reorganizing the table layout, click Next.
Give your custom layout a name. Then, click the Private radio button if you only want the layout to be visible to you. If you are an admin, click the Public radio button if you want your entire team to have access to the custom layout.
Click Previous to make any final changes to the columns.
Then, click Create new layout.
You have now successfully created a new custom layout.
Manage Your Custom Layouts in the Settings
Launch Apollo, click Settings, and then click Table Layouts.
Click the People tab to view the public and private layouts for your people searches. Or, click the Companies tab to view the layouts for your company searches.
Click the additional options (...) button on the right of a layout to edit, duplicate, or remove it.
To delete multiple table layouts, click the checkboxes on the left of the ones you want to delete and then click Remove.
Click the Sort by drop-down to configure the order in which you view your table layouts.
Type the name of a layout in the search bar for quick access.
Click + New layout and follow the steps in the "Create a new custom layout" section above to create new layouts from scratch.
You have now accessed the settings to manage your table layouts.
Apply a Custom Layout When Prospecting
Launch Apollo, click Search, and then click the People or Companies tab.
Click the Table layout drop-down. Then, click the All, Private, or Public tab to find the one you want to apply to the search.
Click your chosen layout. Apollo applies it to your search.
You have now successfully applied a custom table layout to your search.
You can also apply a table layout to your saved searches. This means that when you open a saved search, Apollo automatically displays the search results in the table layout you configured in the settings. For more information, refer to the Create and Subscribe to Saved Searches article.