Overview
When you set up SCIM user provisioning for Apollo, you can streamline the way you manage users between your single sign-on (SSO) provider and Apollo.
Supported Features
SSO on Apollo via SAML supports the following provisioning features:
- Create users: Assign users to Apollo and automatically add them as users in your Apollo account.
- Update users: Automatically sync user updates made in SSO to Apollo.
- Deactivate users: Remove and deactivate Apollo users in SSO and automatically reflect the deletion in Apollo.
Apollo supports Okta and Microsoft Entra ID for SCIM user provisioning.
If you need to change or edit a user's primary email address, you must first unassign the user in Apollo and then re-assign them to the Apollo.io app in SSO with the updated email. Check out Use Single Sign-On on Apollo to learn more.
Follow the steps below to set up SCIM user provisioning on Apollo.
Set Up SCIM User Provisioning
You must be an admin in both your SSO and in Apollo to configure SCIM user provisioning.
Before configuring user provisioning, follow the steps in Use Single Sign-On on Apollo to set up SSO.
To set up SCIM user provisioning:
- Launch Apollo and click Integrations.

- Scroll to Single Sign-On and click View.

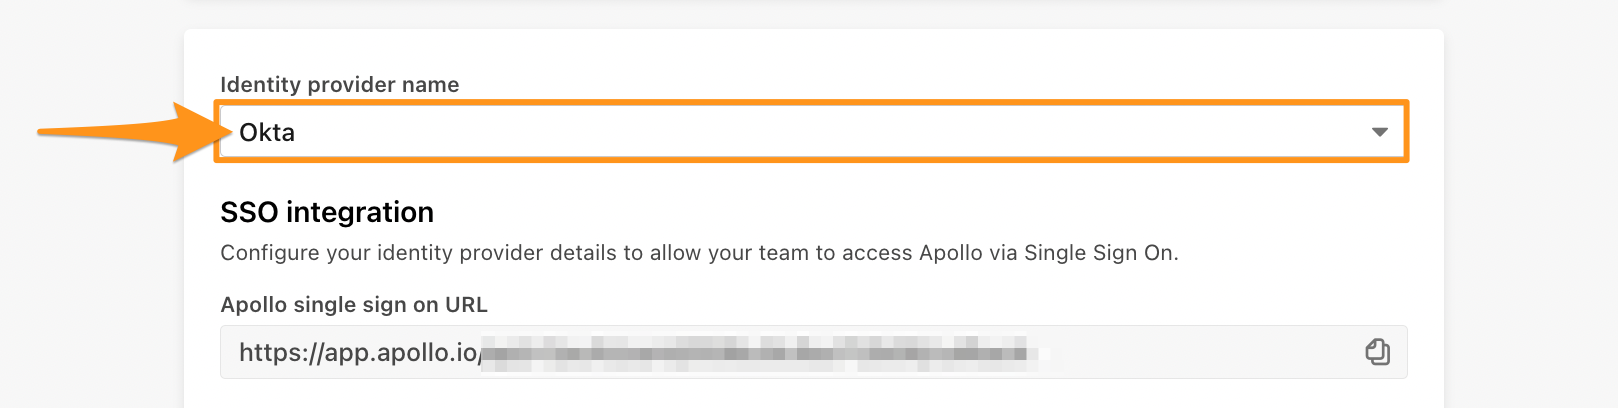
- Click on your SSO provider.
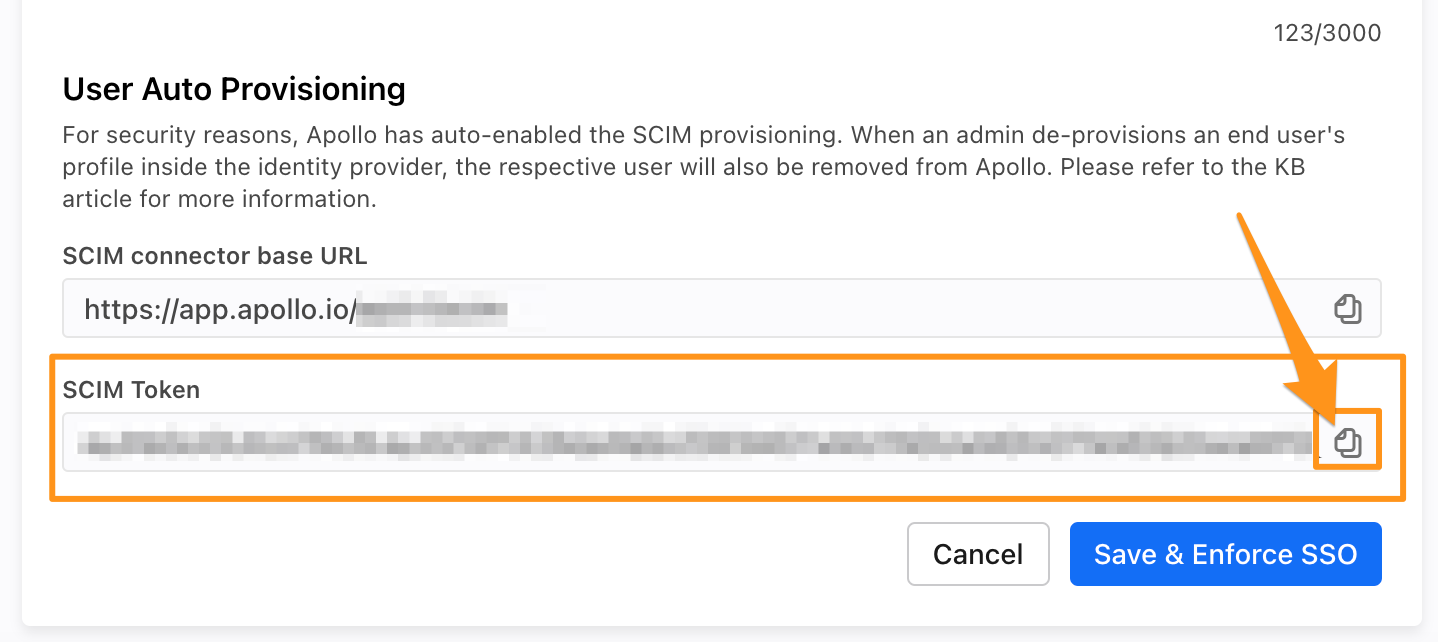
- Scroll to User Auto Provisioning and click Copy on the SCIM token.
- In a separate tab, log in to your SSO provider and click Applications. Click Apollo.io.
- Find the provisioning settings, then click Enable API integration.
- Click Test API Credentials to verify Apollo.io and then click Save.
The set up instructions shown here are for Okta. Your SSO provider's set up steps may differ slightly. If you need help, reach out to your SSO Admin, or check out the SSO provider's help center.
- Click To App, then click Edit.
- Click Enable next to Create Users, Update User Attributes, and Deactivate Users. Then, click Save.
You have successfully set up user provisioning for Apollo.
Running into trouble with the integration? Hop into Why Are the Users I Assign in SSO Not Created in Apollo? for more info.