Overview
Sequence rulesets allow you to set custom rules about who you can email within your sequence. While you can set rules on each individual sequence, sequence rulesets allow you to apply the same rules across multiple sequences and teams. Sequence rulesets protect you from sending emails to the wrong people, and they help you work faster with automations and triggers.
Check out the following sections to create a sequence ruleset and leverage it in sequences.
Create a Sequence Ruleset
To create a sequence ruleset:
- Launch Apollo and click Settings > Team email & sequences > Sequences > Sequence rulesets.
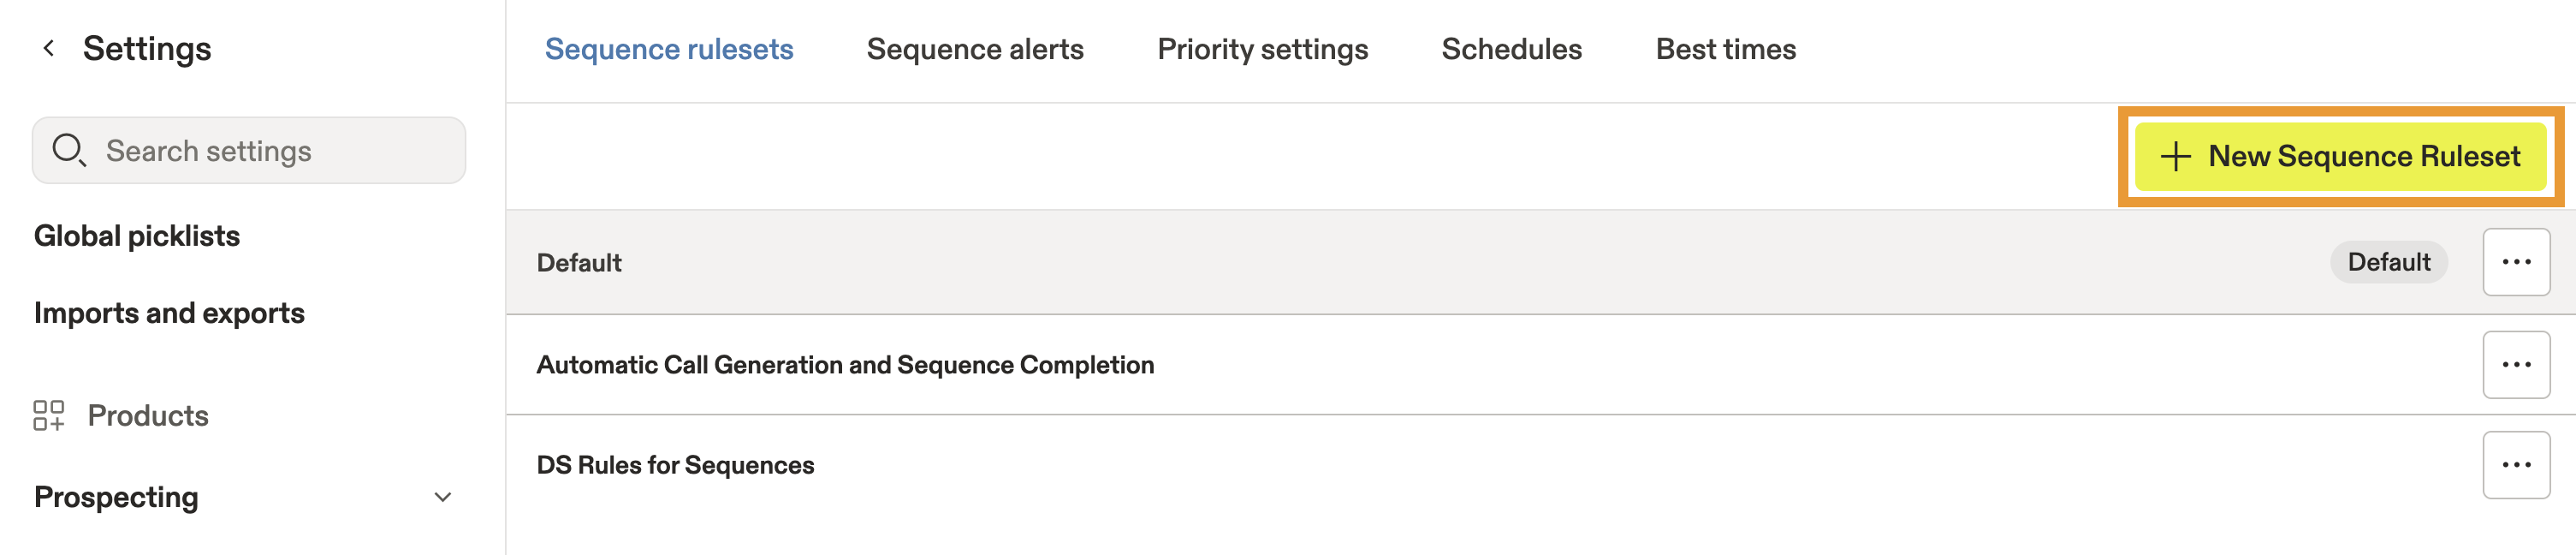
- Click + New Sequence Ruleset.
- Name your sequence ruleset, then configure the triggers and other settings you want to use in the ruleset.
Triggers
Triggers offer automations for sequence rulesets, like creating tasks or configuring the maximum number of sequences per 24-hour period, based on conditions you set.
To configure triggers:
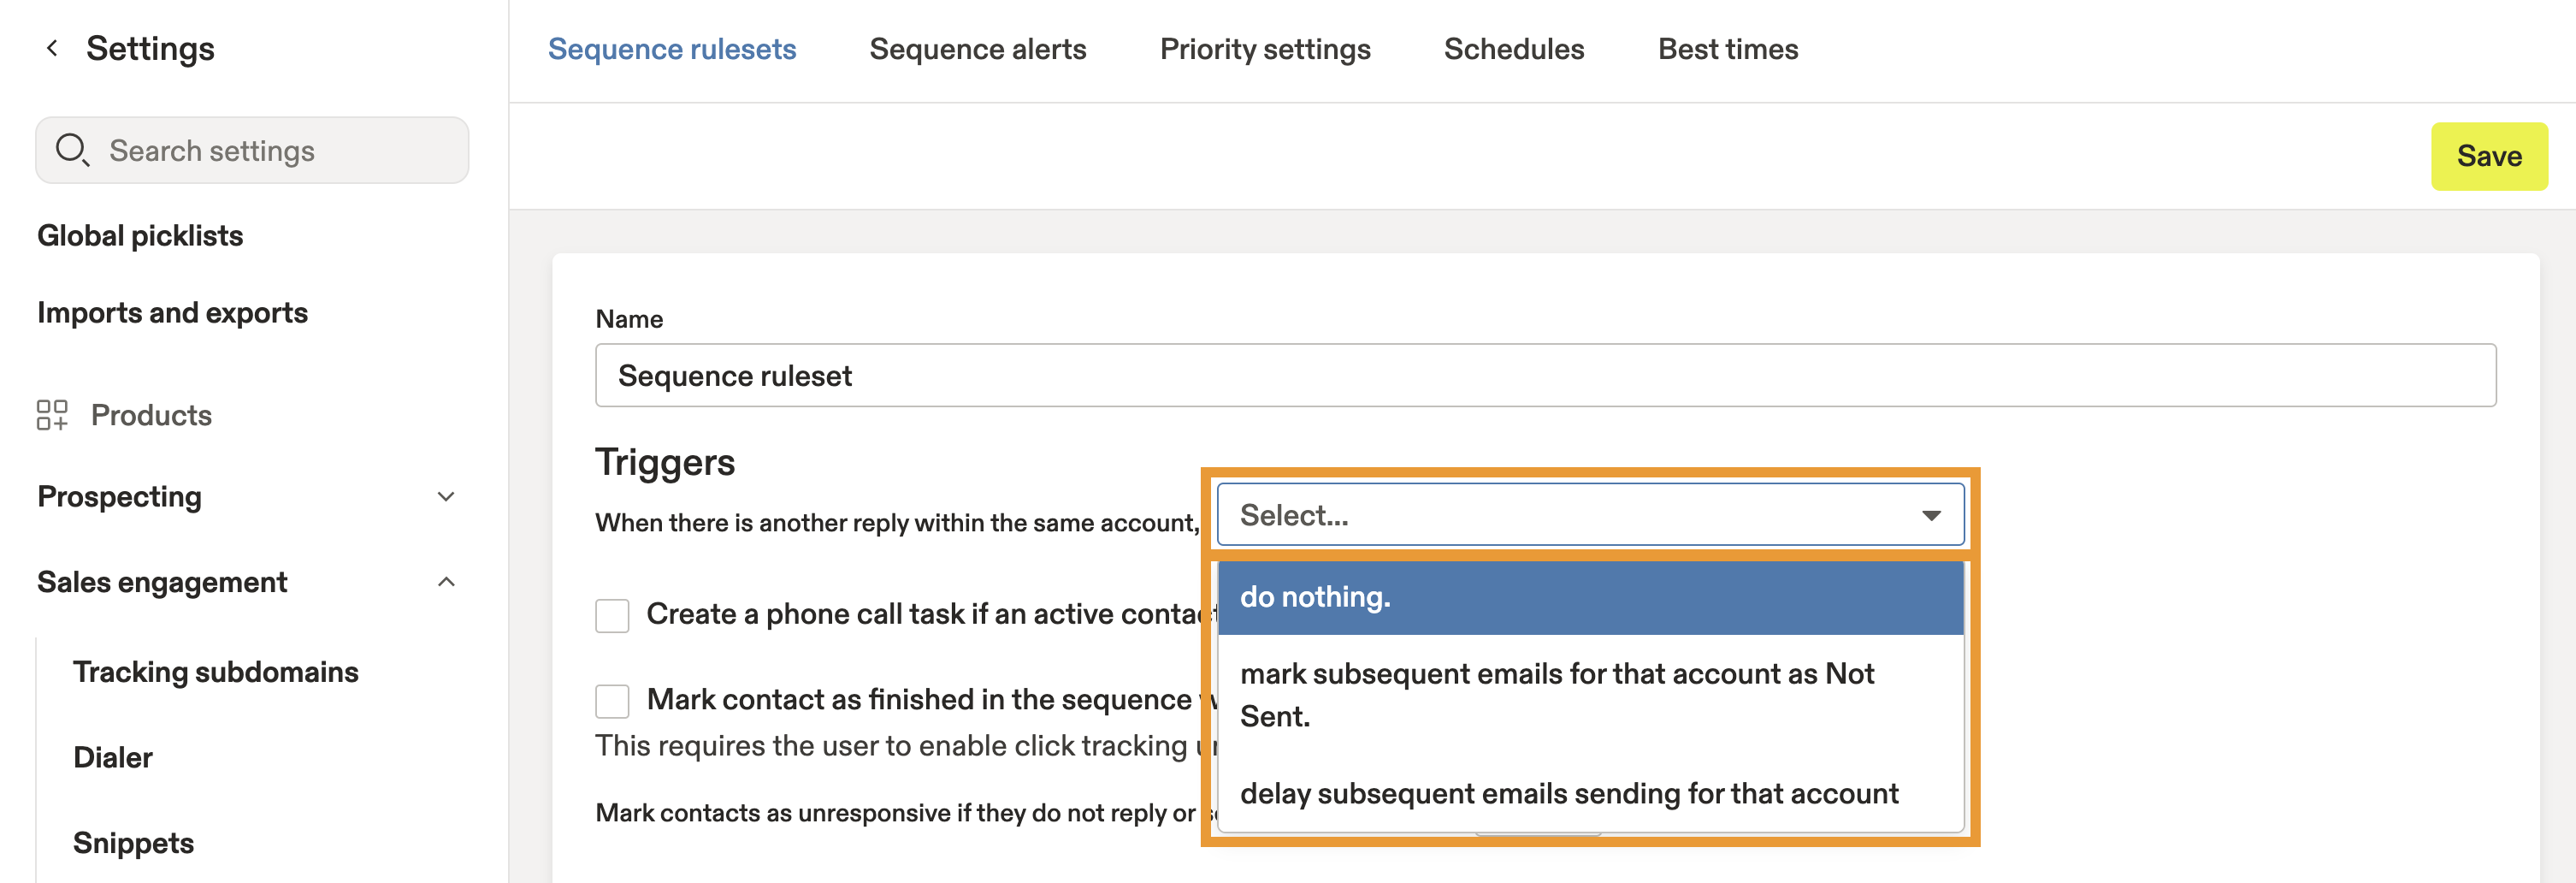
- Choose an option from the dropdown beside When there is another reply within the same account to set how to treat contacts in a sequence when someone from the same company replies to an email from your Apollo instance:
- Do nothing
- Mark subsequent emails for that account as not sent
- Delay subsequent emails sending for that account
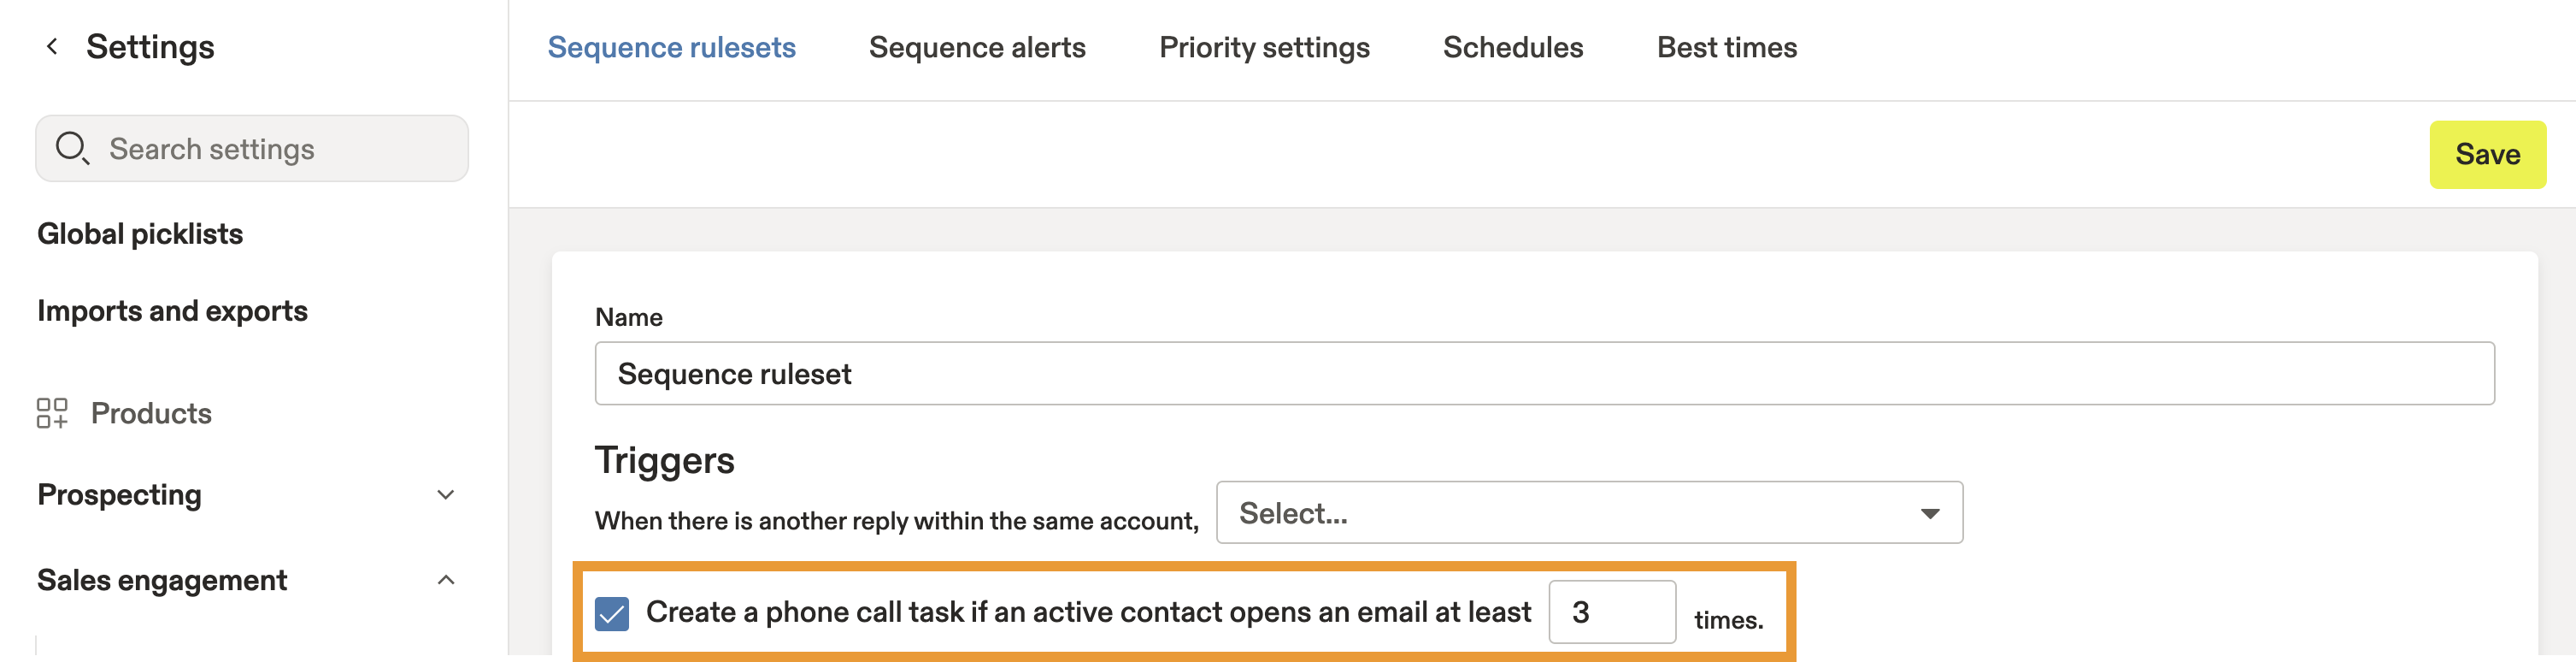
- Check Create a phone call task... to create phone call tasks based on the number of times an active contact opens an email. Then enter the amount of times an email should be opened before the task is created.
- Check Mark contact as finished to trigger a sequence to end for a recipient if they click on a link in an email.

Mark contact as finished requires you to enable click tracking for your account.
- Choose the number of days for Mark contacts as unresponsive... to control the number of days before Apollo marks a recipient as unresponsive if they don't respond or book an appointment.

- You can configure if emails aren't sent when a contact is in a particular contact stage. By default, the following contact stages are selected:
- Replied
- Interested
- Do Not Contact
- Bad Data

- You can configure if emails aren't sent when an account is in a particular account stage. When a sequence includes this trigger in its ruleset, Apollo moves contacts in any of the selected stages to the not sent emails list. By default, the following account stages are selected:
- Current client
- Active opportunity
- Dead opportunity

Some default triggers are applied to all sequence rulesets. Click Show Default Triggers to view and modify these settings:
- Mark contact as finished in sequence when there is a reply.
- Pause contact in sequence when there is an out-of-office reply.
- Mark contact as finished when a calendar meeting is scheduled with the contact.
For your account's protection, there are some default triggers you can't modify. These include:
- Mark contact as finished in sequence when they unsubscribe.
- Mark contact as finished in sequence when a phone call is connected.
- Mark contact as failed when there's a bounce or if email is rejected as spam.
Other Settings
Yes, you can! Use sequence rulesets to set CC or BCC email addresses for all sequences using the ruleset.
There are a few optional settings for sequence rulesets.
- To set the maximum number of emails you send from the sequence in a rolling 24-hour period, enter a number.

- To add carbon copy (CC) or blind carbon copy (BCC) to emails sent through the sequence, enter the email addresses to CC or BCC, separating each address by a comma. CC/BCC may be useful for quality control and testing purposes.

- To deactivate bounce protection, check Ignore bounce protection in sequences.

- When finished, click Save.
Anyone can set sequence rules on individual sequences, but the ability to save a sequence ruleset is based on your Apollo plan.
Your sequence ruleset is now ready to use and will appear in the advanced settings when you create or edit a sequence.