Overview
After you link a mailbox to Apollo, you can set up a unique email signature to personalize your outreach and add a professional touch to each email interaction.
You can set up a unique signature for each mailbox that you link on Apollo.
If you configure a signature on Apollo and a separate signature on your connected email provider, Apollo will use the Apollo signature for all emails sent through sequences.
Emails sent directly from your connected mailbox outside of Apollo won't include your Apollo email signature. Instead they will include any email signature you configured in your email provider settings.
Check out the following section to set up an email signature on Apollo.
Set Up Your Email Signature
To set up your email signature:
- Launch Apollo and click Settings > Mailboxes.
- Click the mailbox you want to edit.
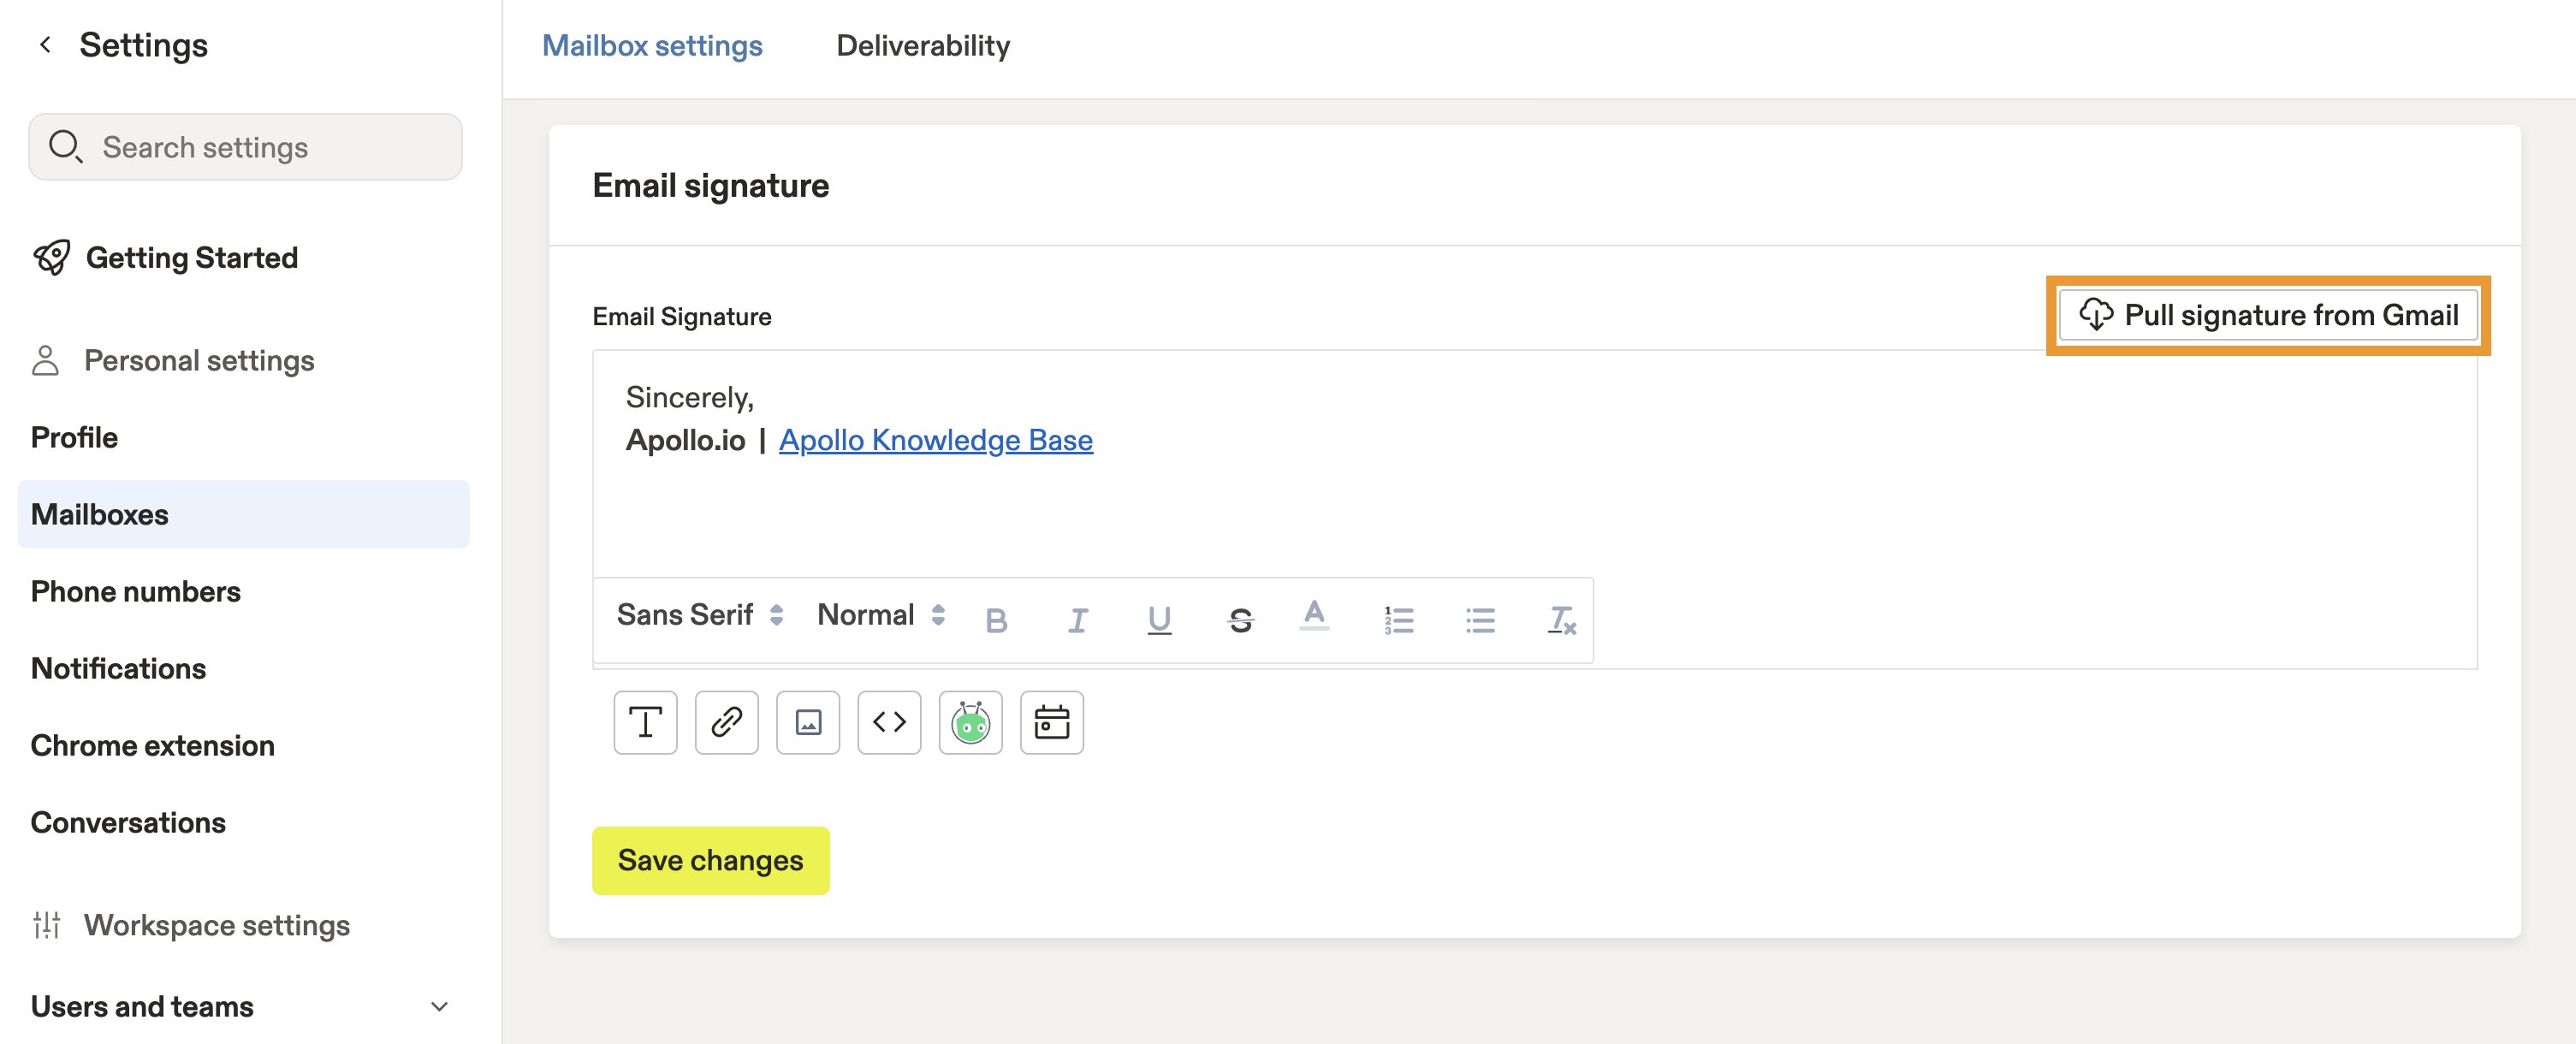
- Enter your signature as you would like it appear. You can use formatting options like bold or italicized text, images, or raw HTML.
To prevent security risks, some email providers may not display external images in your email signature. We recommend you consider removing images from your email signature when possible.
- If you use Gmail, click Pull signature from Gmail to sync your email signature from Gmail.
- When finished, click Save.
You have now saved your email signature, and you're ready to view and respond to emails on Apollo.
As a best practice, avoid adding links to your email signature because they may trigger spam filters. Learn more about best practices to avoid spam filters.

