Overview
When you install the Apollo Chrome extension, you unlock Apollo functionality in many of the tools that you use every day, including Gmail, Google Calendar, Salesforce, HubSpot, as well as many websites across the internet.
Check out the following sections to install and use the Apollo Chrome extension.
Back to TopInstall the Apollo Chrome Extension
To install the Chrome extension:
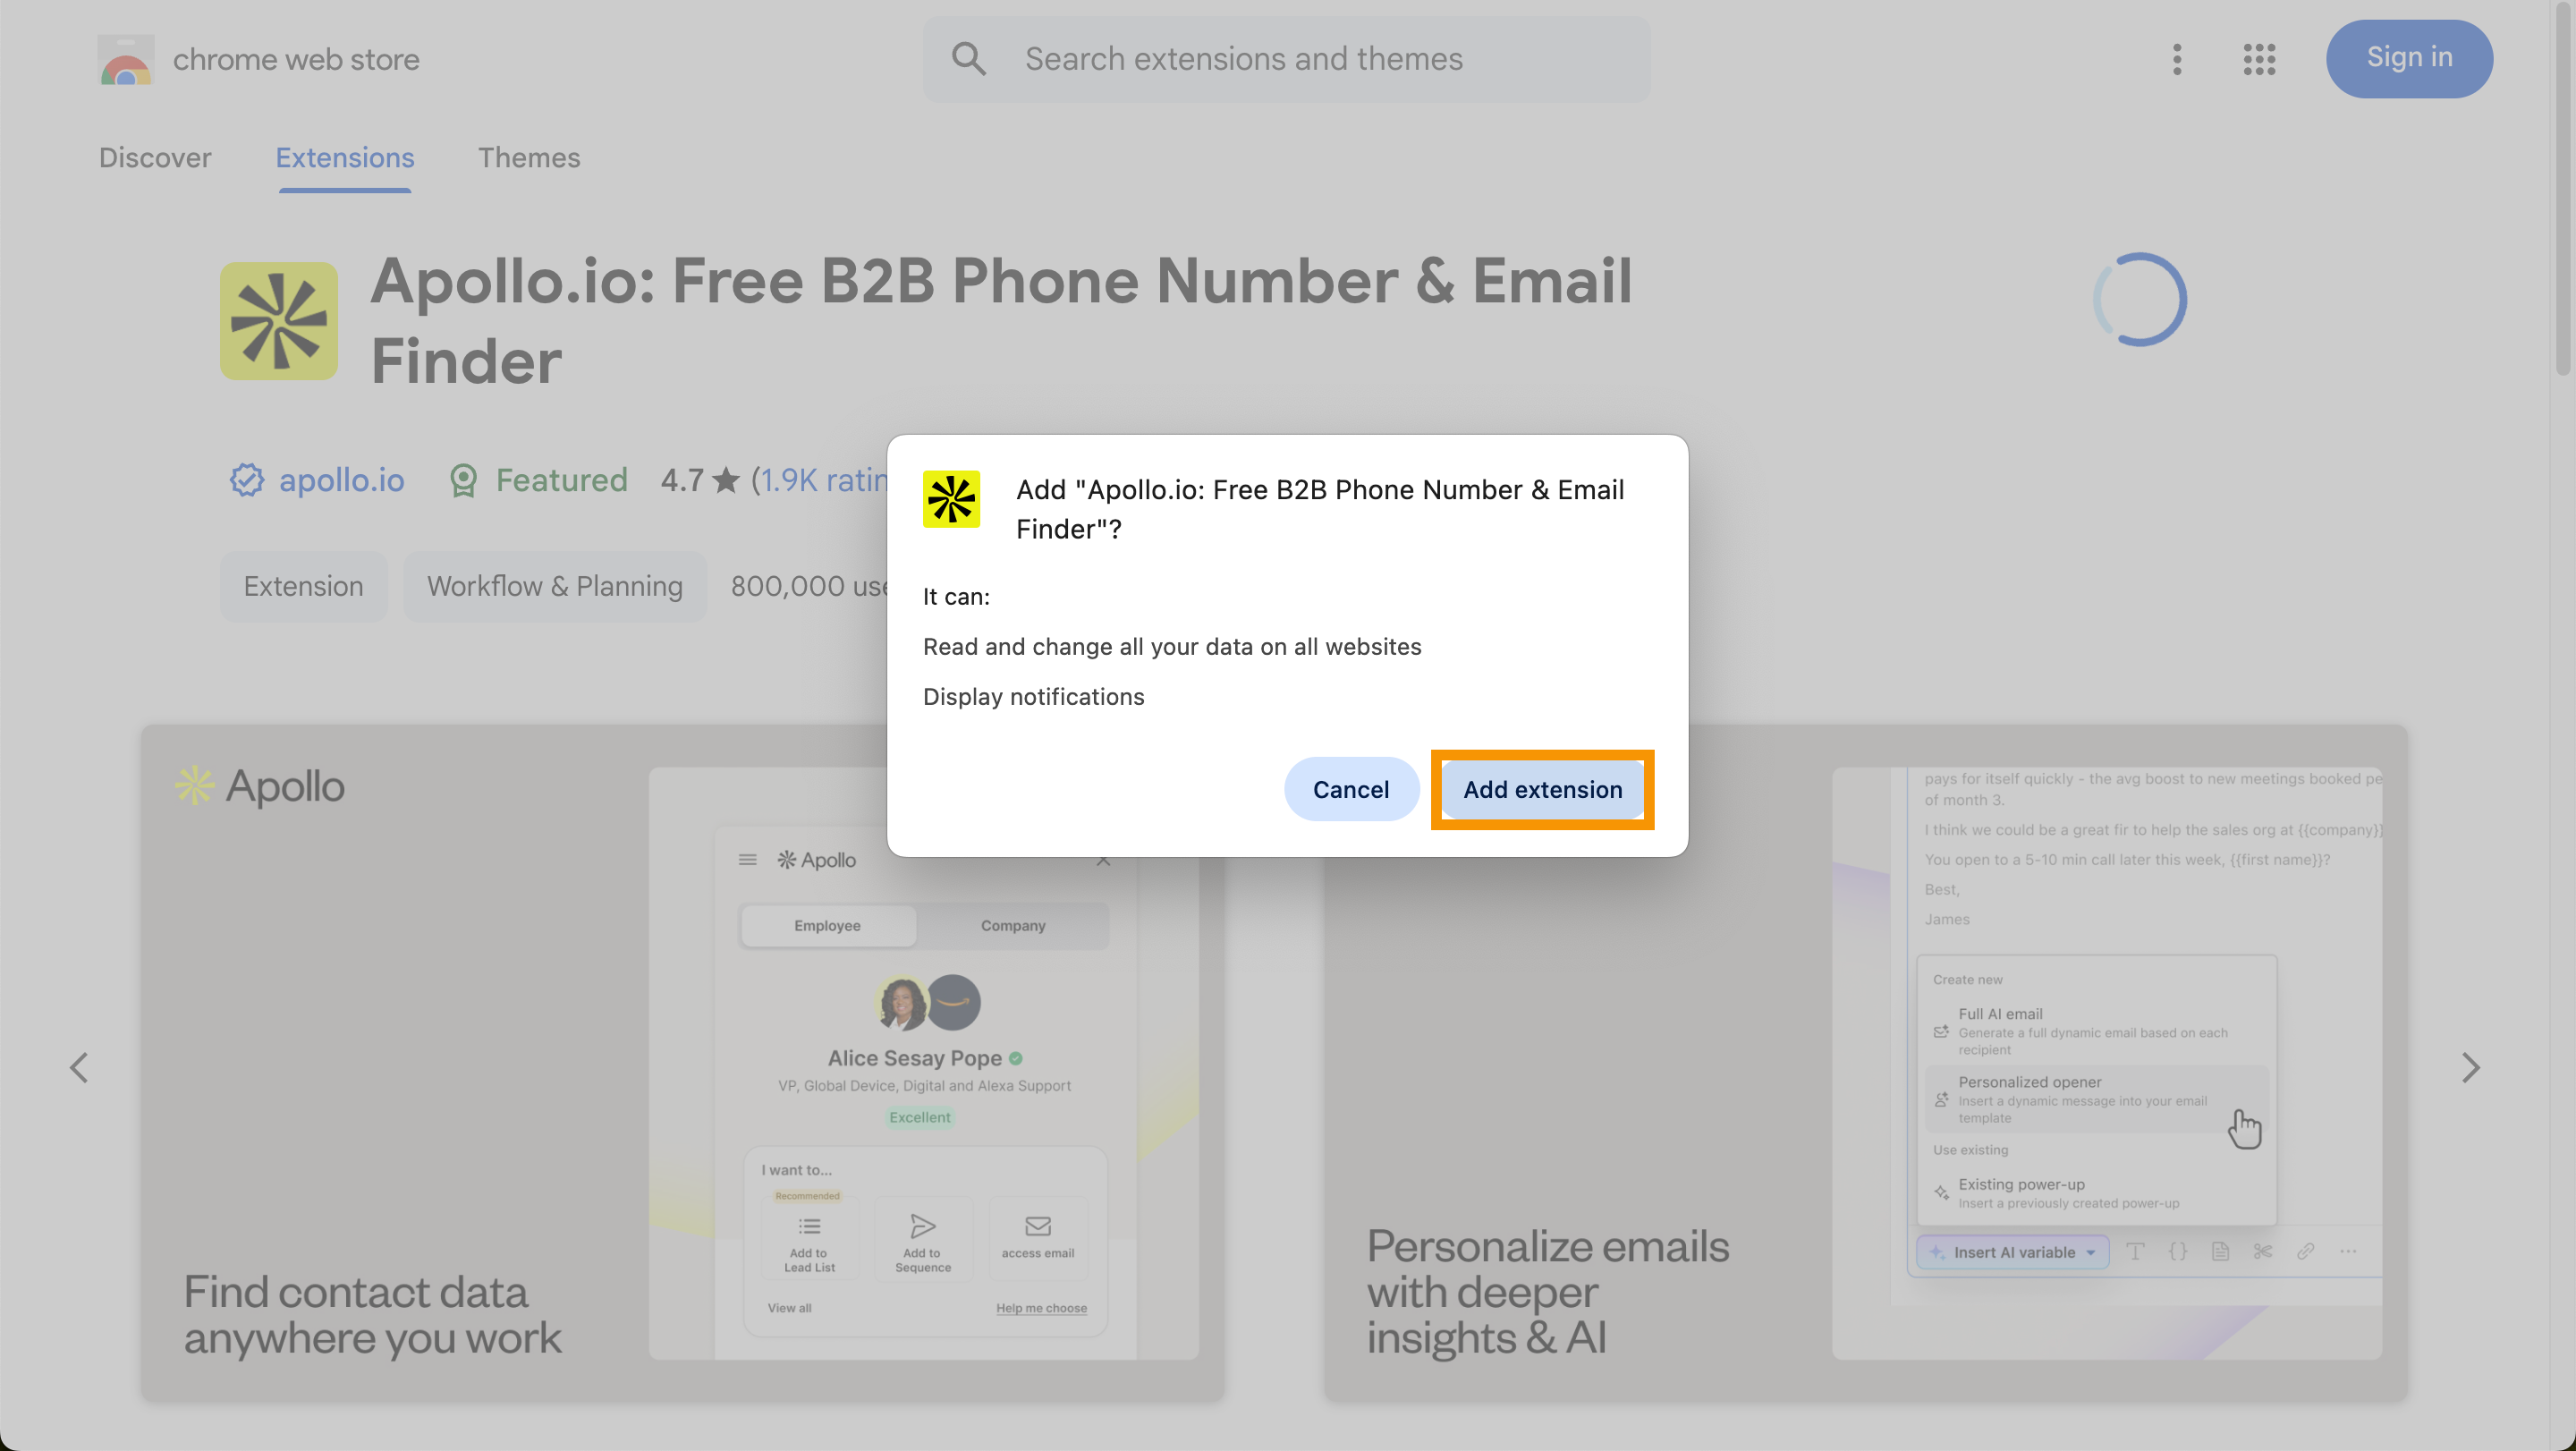
- Go to the Chrome Web Store and search for
Apollo.io, then click Add to Chrome.
Using Microsoft Edge? Apollo's extension is also available on Edge. Download it here. Apollo releases Chrome Extension updates first, and Edge updates follow after.
- Click Add extension.
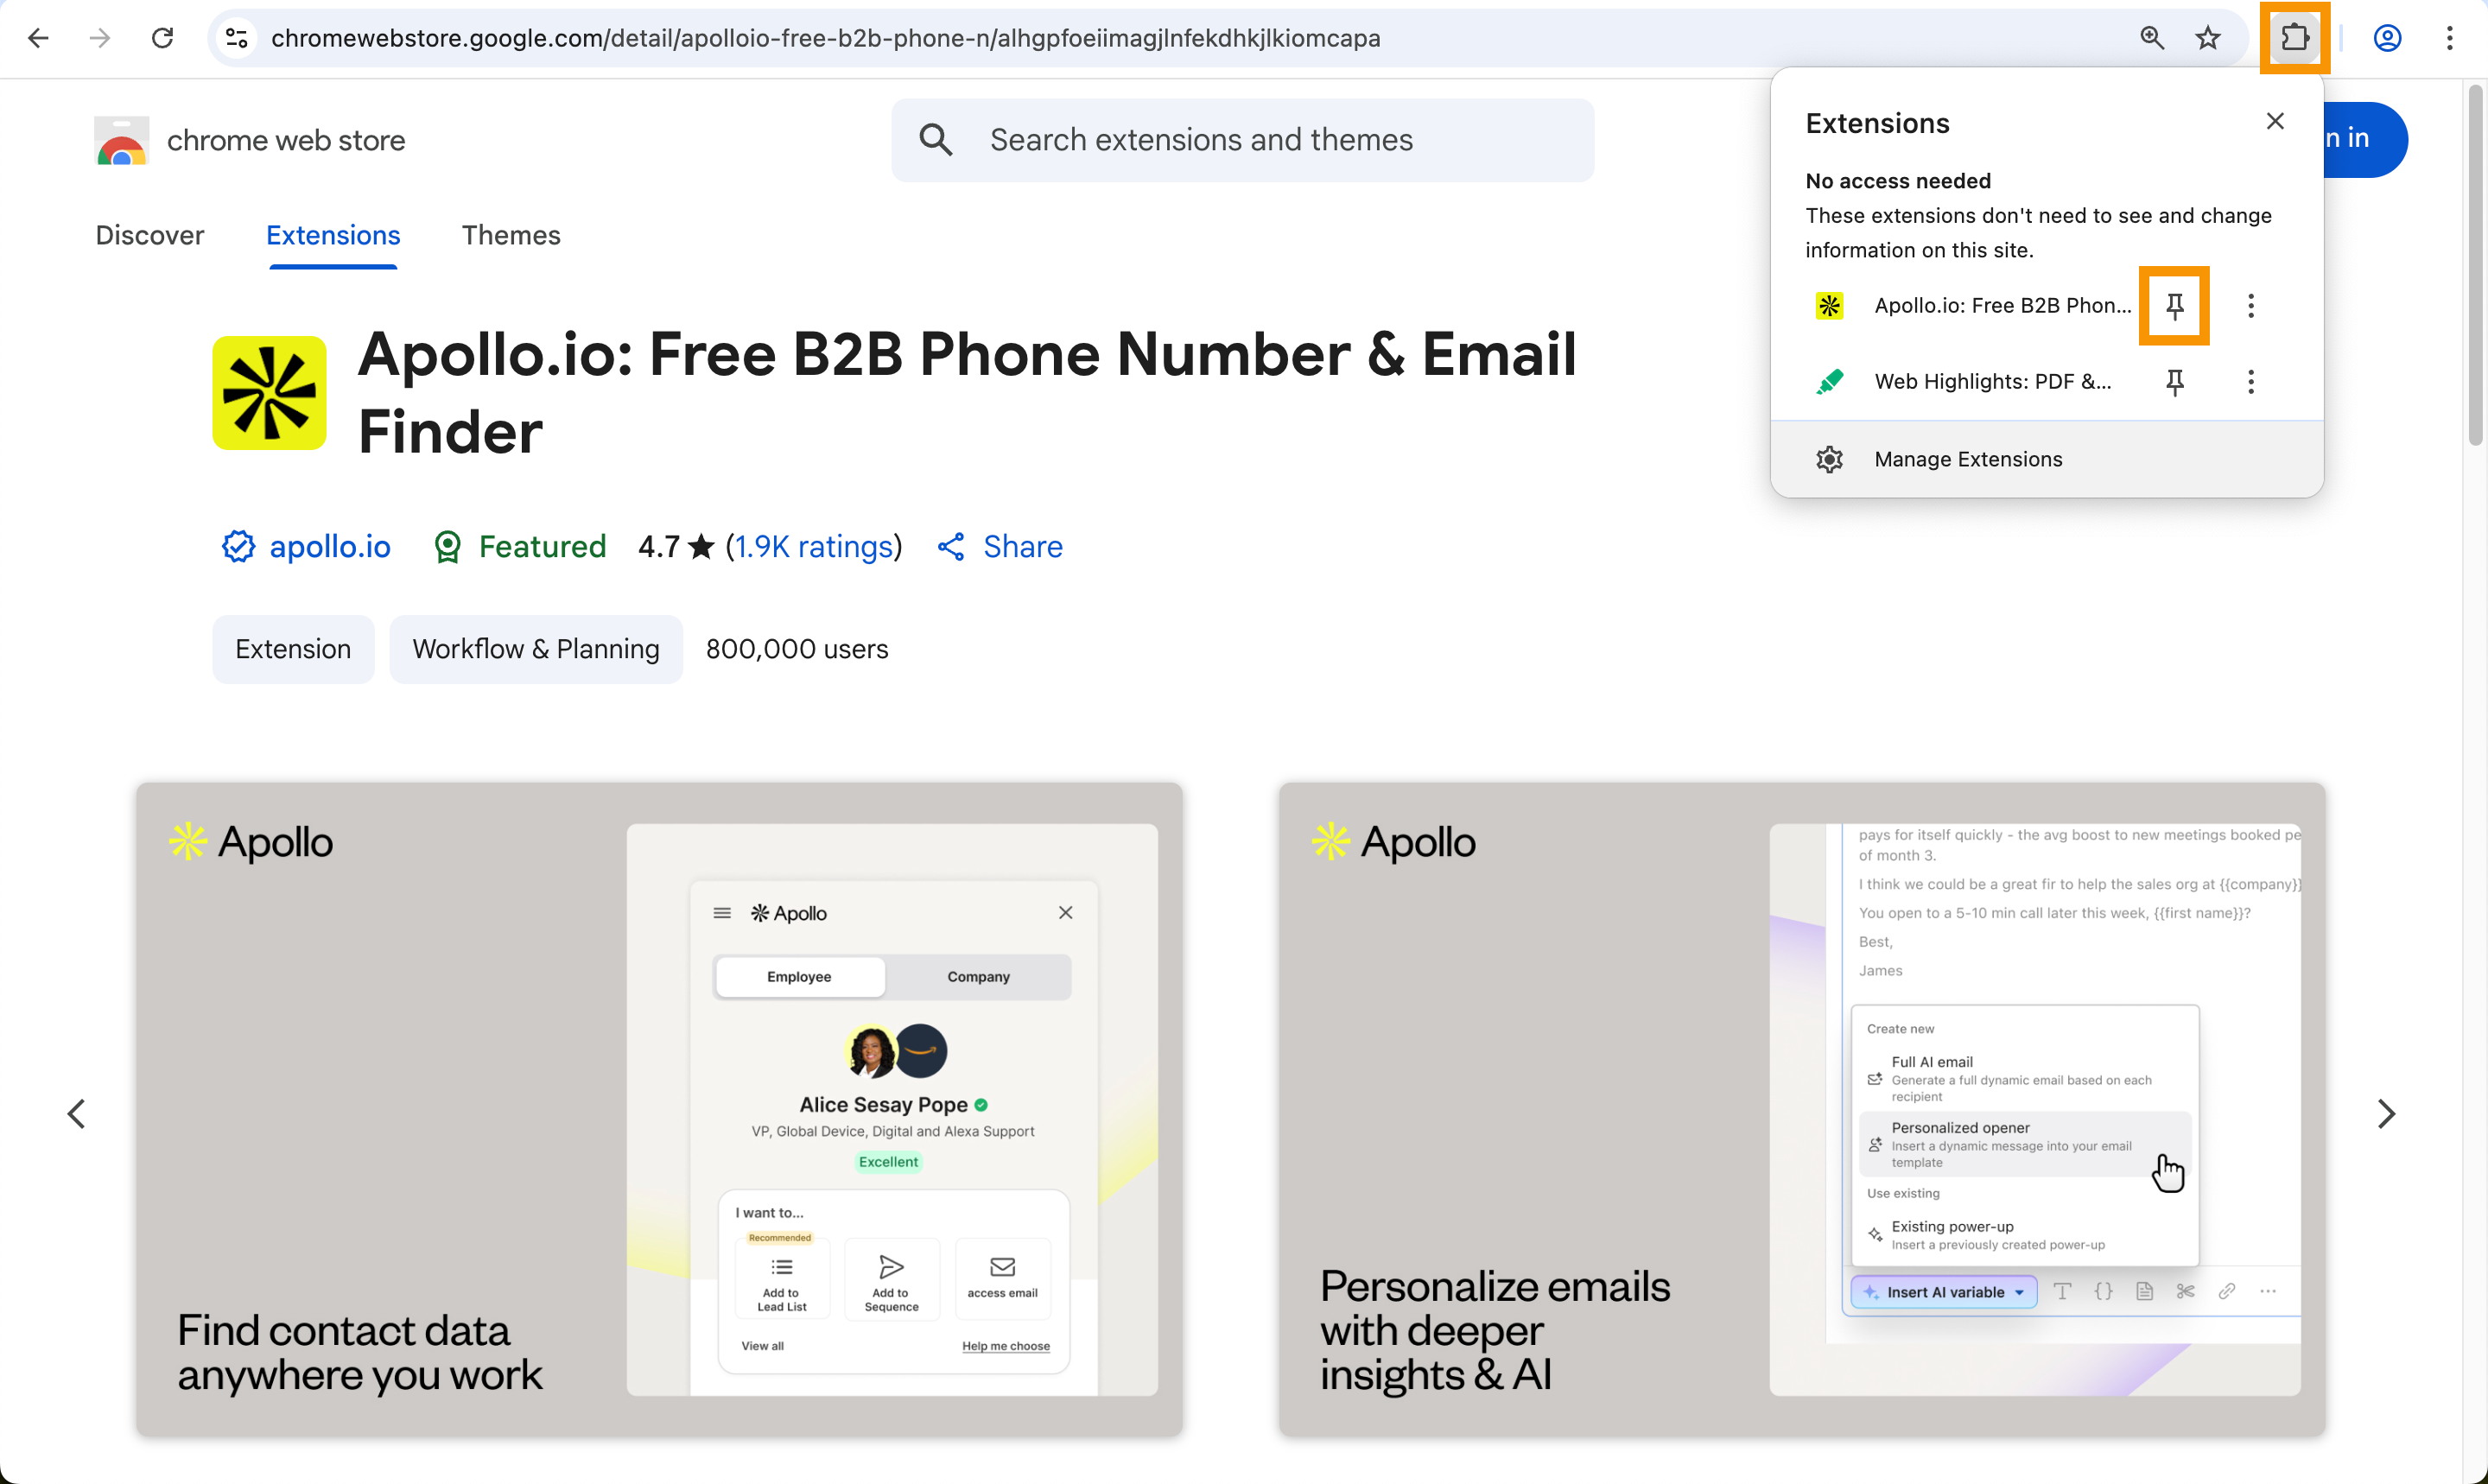
For easier access in the future, pin the Apollo Chrome Extension by clicking Extensions on your browser, then click the pin icon next to the extension.
You have now installed the Apollo Chrome extension.
Back to TopUse the Apollo Chrome Extension
To use the Chrome extension, you need to log in to an Apollo account.
If you're logged in to Apollo on another Chrome tab, you're automatically logged in on the extension.
To log in:
- Click the Apollo Chrome Extension > Log In.

- Log in to the extension with your Apollo email address and password, or use one of the single sign-on (SSO) options.

Can't log in? Try resetting your password, then log in again using your new password.
You're now ready to use the Chrome extension. Start by add Apollo meeting links to emails or track email analytics in Gmail. You can also add Apollo functionality to Google Calendar, Salesforce, and HubSpot.
Back to TopNext Steps
Ready to get more out of the Apollo Chrome Extension? Here are solid next moves to turn it on for real work.
| Apollo Chrome Extension Overview | Kick things off by getting the full extension tour to see where it fits across Gmail, your CRM, and the sites your team works in every day. |
|---|---|
| Use the Apollo Chrome Extension in Gmail | If you live in your inbox, use Apollo inside Gmail to drop templates, set nudges, add meeting links, and sync activity without leaving the thread. |
| Configure Chrome Extension Settings in Apollo | Dial it in by configuring extension settings to control tracking, notifications, and the prospect insights your team sees at a glance. |
| Troubleshoot the Apollo Chrome Extension | When things get weird, run through troubleshooting steps to resolve common issues quickly and know when to loop in support. |