Overview
Personas are made of titles, industries, and other firmographic attributes that define specific groups of people that you want to target in a search. Personas help you quickly hone in on qualified sales leads, without applying a lot of manual filters. Use personas to target contacts that meet your ideal customer profile, then reach out to engage in sequences.
Check out the following sections to learn more about personas.
Create a Persona
You need permission to create or edit personas. If you don't have permission, reach out to Apollo admin at your organization for help.
- To create a persona, launch Apollo and click Search > People.
- Click Show Filters > Persona > + Persona.
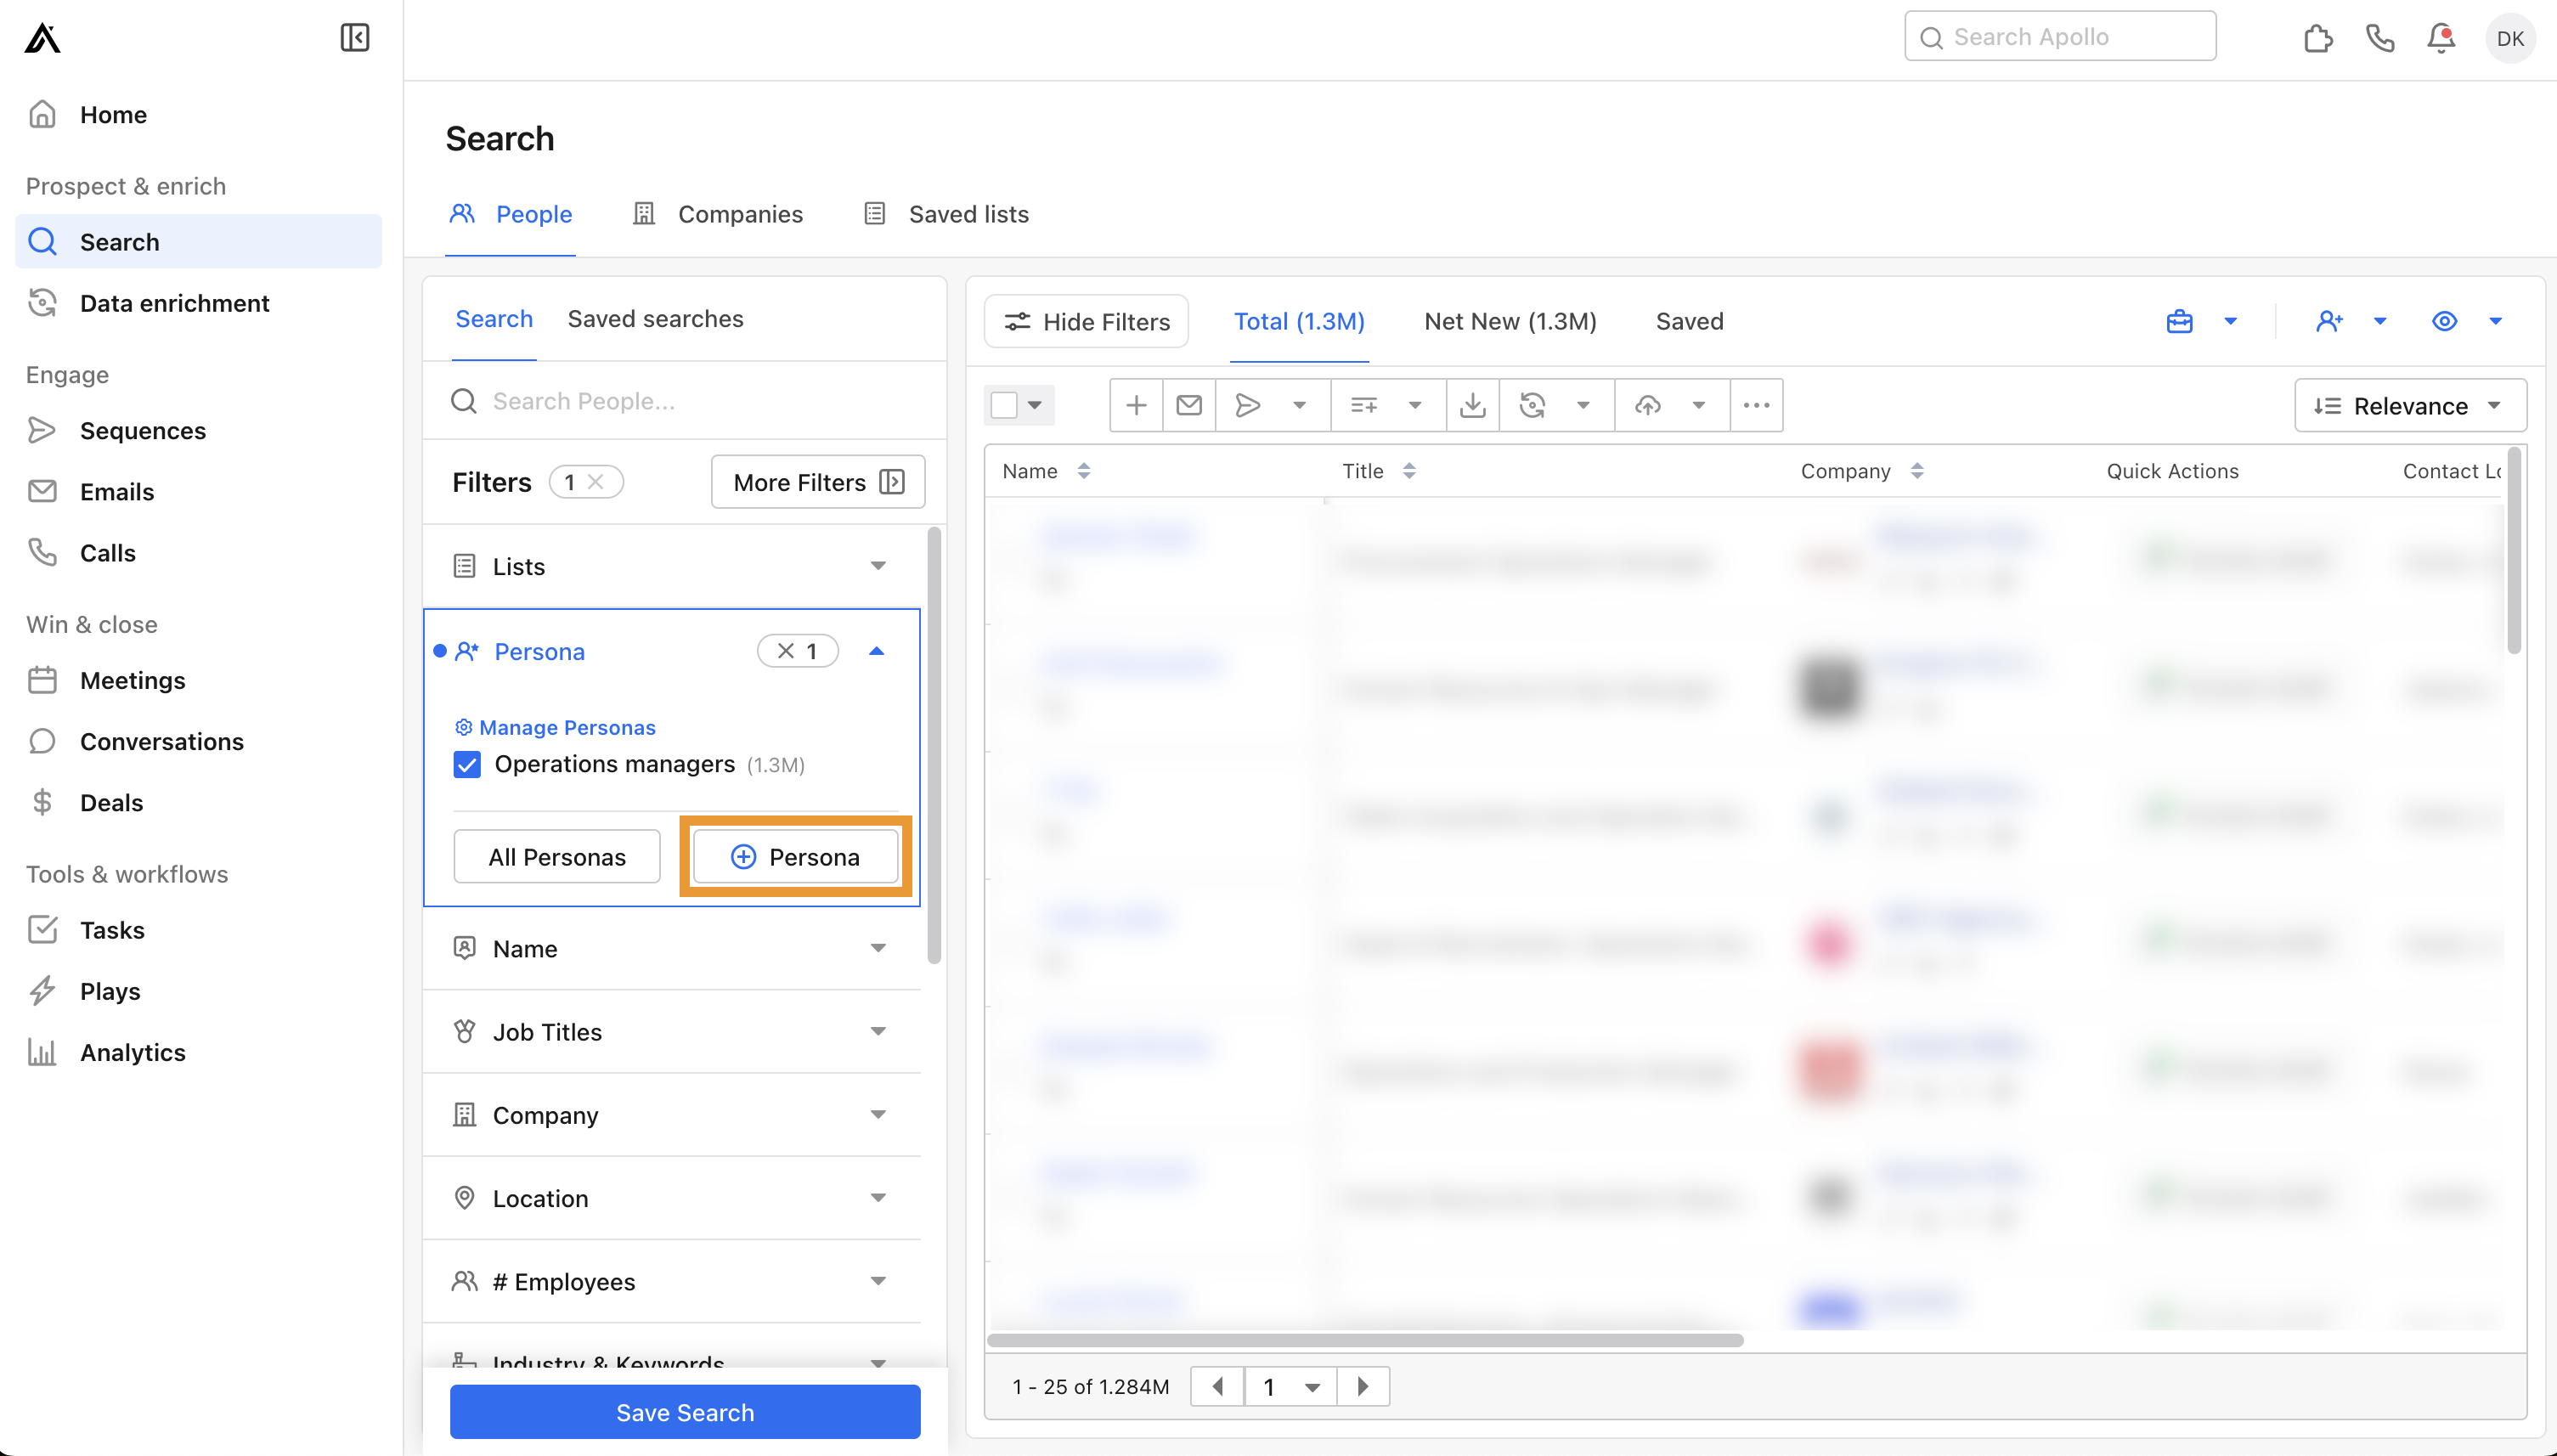
- Give your persona a name, and use filters like job title, industry, location, or number of employees.
Only add filters that are vital to your ideal persona. The more specific your persona, the fewer contact results you’re likely to see. For instance, if you use a very specific job title, you may want to avoid additional filters. Learn more about using search filters successfully.
| Filter | Usage |
|---|---|
| Job titles | Search by job title or job function. Use this filter to target contacts in the roles that best match your ideal customer profile. |
|
Restrict job titles or industries from appearing in your results. For example, filter out “Junior” or “Jr” to target individuals with more seniority. |
|
Include contacts who previously had the job title. |
|
Use Boolean operators like AND, OR, and NOT to target exact results. |
|
Target contacts whose job title is known. |
|
Target contacts whose job title is unknown. |
|
Target by seniority like owners, managers, or interns. |
|
Find contacts from specific departments or job functions, like finance or marketing. |
| Industry | Find contacts from specific industries like animation or hospitality. |
|
Find contacts with industry-specific keywords associated with the company's name, social media, or SEO descriptions. |
| Location | Target contacts by city, state, country, or zipcode. |
| # Employees | Find contacts by the number of employees at the company. |

Use multiple versions of a job title to improve your results. For example, if you search for a Chief Marketing Officer, include the job titles "Chief Marketing Officer" and "CMO" to catch more contacts.
- Apollo previews the result when you add a filter. As you finetune the persona, click on a specific contact to take a closer look at their profile.
- When finished, click Save Persona.
Apollo applies the persona filter to your search results.

You have now created a persona.
Use the persona in combination with other filters to narrow your search when prospecting in Apollo, and edit or deactivate personas as needed.