
Overview
New to Apollo? This guide helps you choose the first workflow that fits your immediate needs so you can hit the ground running.
As you work through a path, use these definitions to understand common Apollo terms:
Contact: A person you've saved in Apollo.
Credit: What Apollo uses to give you contact details such as an email address.
CSV: A plain spreadsheet file you can open in Excel or Google Sheets.
Enrichment: Adding or updating details on a contact.
Filter: A setting that narrows a search, such as job title or company size.
List: A named group of saved people or companies.
Net-new: A person who isn't yet saved to your Apollo workspace. Saving or revealing them can cost credits.
Saved search: A set of filters you've saved so you can reuse them.
Verified email: An email address Apollo has checked and is confident is valid.
|
Choose a starting point |
||
|---|---|---|
| I need contacts to use outside Apollo | I want to use Apollo with the tools I already use | I want to start outreach |
After you work through one path, return to try another.
Check out the following sections to get started with Apollo.
Get Contact Data to Use Outside Apollo
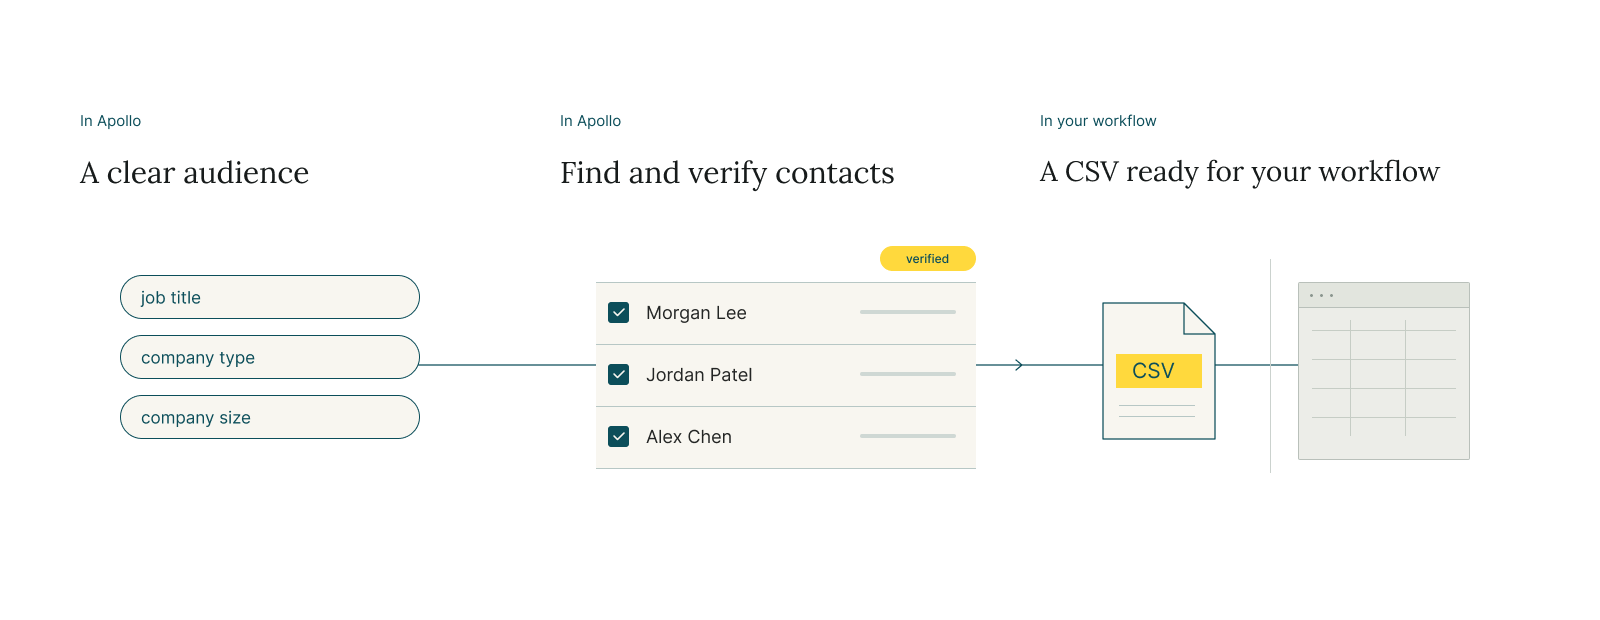
Start with a small group of contacts so you can test Apollo data in the tool you use outside Apollo.
| Step | What you'll do | Time |
|---|---|---|
| 1 | Find your first list of contacts | 10 min |
| 2 | Understand credits before you spend them | 5 min |
| 3 | Export your contacts and test them | 10 min |
| 4 | Keep fresh contacts coming | 5 min |
Find your first list of contacts
Start with ten to twenty-five people who match an audience you can describe in one sentence, such as marketing managers at US software companies with 50-200 employees.
- Launch Apollo and click People.
- Click Show Filters > More Filters.
- Add filters for job title, industry, and company size.
- Check the people you want to save, then click Add to list > Create new list.
- Enter a name for the list, then click Update.
Adding a net-new contact with a verified email to a list uses one email credit. Adding a contact already saved in your workspace doesn't use credits.
Learn more about creating lists.
Understand credits before you spend them
Credits help you access contact data and use certain Apollo features. Review the current cost before you add or export net-new contacts.
- Launch Apollo and click Settings > Credits & activity > Credit usage.
- Review your available credits and usage by feature, surface, or team member. Use the filters to narrow the results.
- Click Usage details to review individual credit-consuming events.
- Click About credits to review the credit costs available to your workspace.
You may need permission to view team credit usage. If you can't access the page, ask a workspace admin for help.
Learn more about credits on Apollo.
Export your contacts and test them
Export a small sample first so you can confirm the data works in the tool you use outside Apollo.
- Launch Apollo and click Search > People.
- Apply a filter for the list you created.
- Check twenty contacts, then click Export.
- Select Verified emails.
- (Optional) Click Edit export CSV settings to choose the fields to include in your export.
- Click Export records, then click Download when the export is ready.
- Use the sample in your other tool and record the bounces and replies you receive.
Exporting saved contacts doesn't use credits. If you export net-new people, Apollo saves them before exporting, and each verified email uses one credit. For exports of more than 1,000 contacts, check the status in Settings > Data management > Import & Exports > CSV Exports.
Learn more about exporting CSVs.
Keep fresh contacts coming
Save your filters so you can return to the same audience without rebuilding the search again.
- Launch Apollo and click People.
- Add the filters you used to create your first list.
- Click Save as new search.
- Enter a descriptive name, then click Create search.
- To return to the search, click Default view or your current layout name, select Your searches, then select the saved search.
To receive a weekly email when new people match your criteria, open the saved search and click Search settings > Subscription alerts > Weekly > Done. You can only create alerts for searches you own.
Learn more about saved searches and search alerts.
Use Apollo with Your Tools
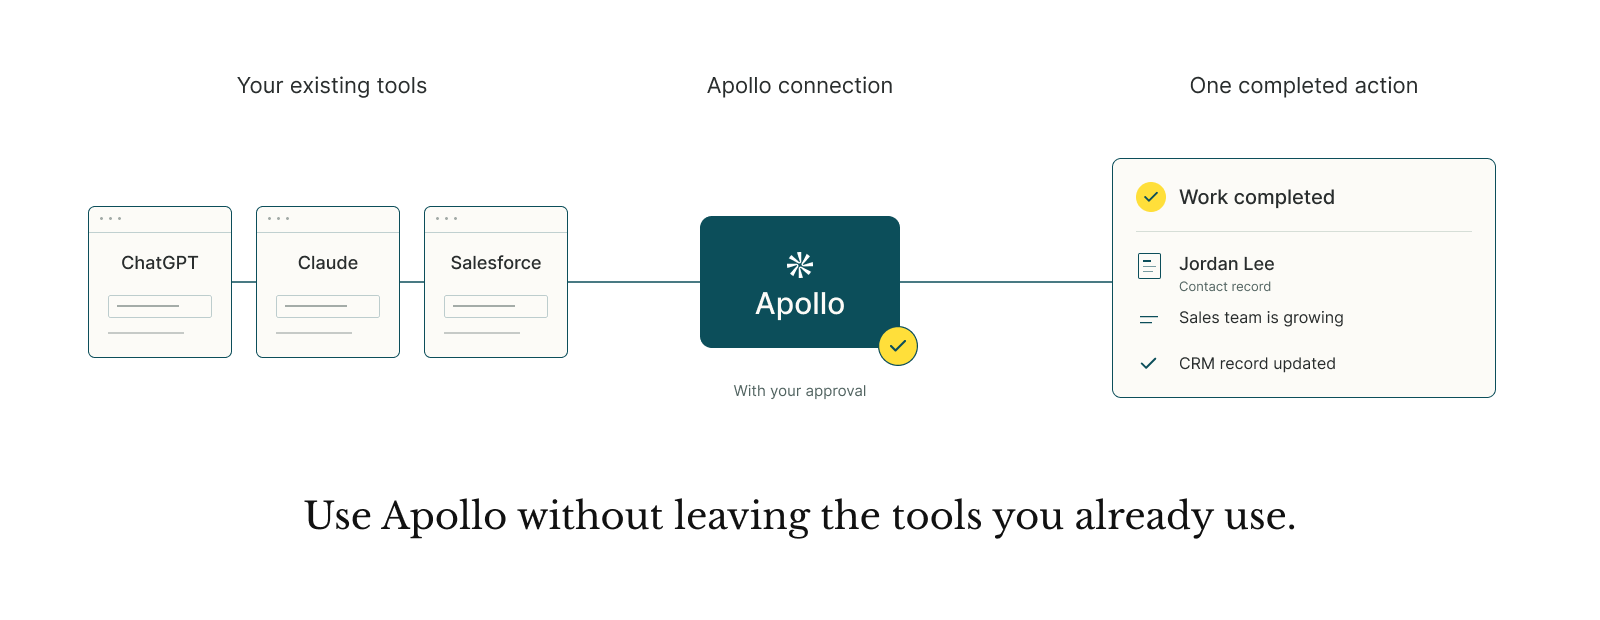
Connect Apollo to one tool you already use so you can complete a useful first action without changing your workflow.
| Step | What you'll do | Time |
|---|---|---|
| 1 | Choose where you want to use Apollo | 2 min |
| 2 | Connect Apollo to your tool | 10 min |
| 3 | Review what Apollo can access and do | 5 min |
| 4 | Complete one useful Apollo action | 10 min |
| 5 | Check the results and choose your next action | 3 min |
Choose where you want to use Apollo
Choose one tool and one small job to complete during this first session.
- AI tools: Use ChatGPT or Claude to find prospects, research companies, enrich records, or draft content with natural-language requests.
- CRMs: Use Salesforce, HubSpot, Pipedrive, Microsoft Dynamics, or Zoho if your team needs Apollo and your CRM to share records.
Apollo supports one CRM connection per workspace. If you don't know which CRM your workspace uses, ask your Apollo admin before you try connecting.
Connect Apollo to your tool
Complete only the steps for the tool you chose. These are only a few examples of the dozens of integrations available on Apollo. Check out all of the available integrations.
Use a work email address to connect Apollo to ChatGPT. Personal email addresses aren't supported. Turn off model training in ChatGPT settings before you connect. Apollo doesn't allow model training with connected AI tools.
- Launch ChatGPT.
- Click your name > Settings > Apps > Explore apps.
- Search for Apollo.io, then click Apollo.io > Connect.
- Review the permissions, then click Authorize.
Learn more about the ChatGPT integration.
Use a work email address to connect Apollo to Claude. Personal email addresses aren't supported. Turn off model training in Claude settings before you connect. Apollo doesn't allow model training with connected AI tools.
- Launch Claude.
- Click Customize > Connectors.
- Search for Apollo.io, then click Connect to Claude.
- Review the terms and conditions, then click Authorize.
Learn more about the Claude integration.
- Confirm that you're a Salesforce admin and have permission to edit CRM integrations in Apollo.
- Launch Apollo and click Settings > Integrations > All integrations > Salesforce.
- Click Connect for a production Salesforce org, or Connect to Sandbox for a sandbox.
- Click Install Managed Package. In Salesforce, create the dedicated integration user, keep the default permissions selected, and return to Apollo to connect with that user's credentials.
Learn more about the Salesforce integration.
- Confirm that you're a HubSpot super admin and have Apollo CRM-edit permission or Apollo admin access.
- Launch Apollo and click Integrations.
- Click Connect beside HubSpot CRM for two-way sync, or HubSpot Data Enrichment for enrichment only.
- Click Yes, Continue, sign in to HubSpot, then click Choose Account > Connect app.
Learn more about the HubSpot integration.
Review what Apollo can access and do
ChatGPT and Claude use your existing Apollo permission profile, plan limits, and credit balance. They can't complete an action that you can't complete in Apollo.
- In Claude, go to Customize > Connectors. Select Apollo, and set credit-consuming actions to Approval required.
- For HubSpot, Apollo supports two-way sync. However, HubSpot Data Enrichment enriches existing HubSpot records and doesn't sync contacts, accounts, deals, or activities. Make sure you're using the right integration for your needs.
- Salesforce setup requires field mapping and pull and push settings. On paid plans, configure these during the six-hour window after you first connect Salesforce.
Complete one useful Apollo action
Use a small, low-risk action first.
- Start a new chat and click + > More > Apollo.io.
- Enter a specific request, such as:
Find VP-level marketing leaders at SaaS companies in North America.
- Start a new chat and click + > Connectors, then enable Apollo.
- Enter a specific request, such as:
Find VP-level marketing leaders at SaaS companies in North America.
Check the results and choose your next action
Review the result before you repeat the action on more records.
- For ChatGPT or Claude, review the results and any proposed credit cost before you save, enrich, or continue with research.
- For HubSpot, review push activity in Settings > Integrations > All integrations > HubSpot > Contacts or Accounts > Push. You can check failures and suggested resolutions under the error log.
- For Salesforce, review failed pushes in Settings > Integrations > All integrations > Salesforce > Error logs.
Once the first action works as expected, repeat it with a small group of records or move to the outreach path.
Start Your Outreach
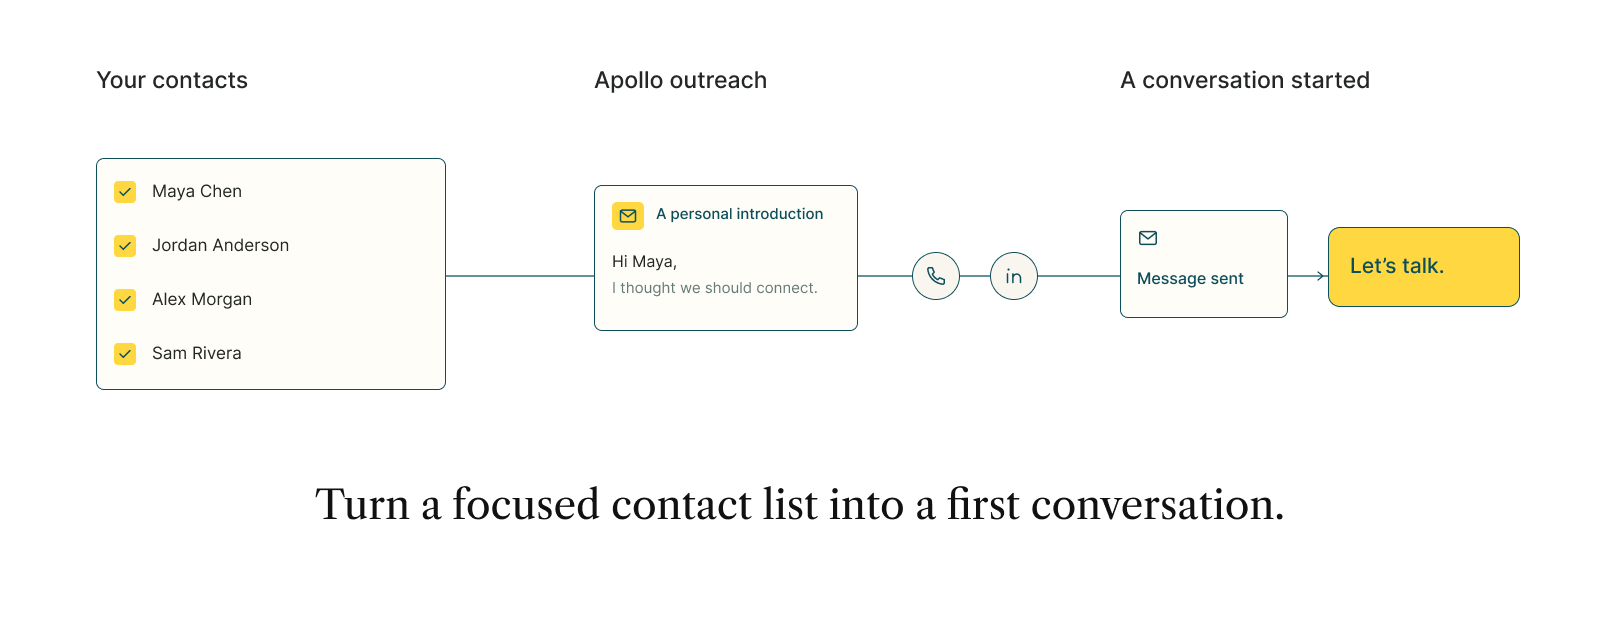
Start with a short sequence and a small group of contacts so you can review your messaging and setup before you scale outreach.
| Step | What you'll do | Time |
|---|---|---|
| 1 | Link your sending mailbox | 5 min |
| 2 | Create a short sequence | 10 min |
| 3 | Review your message and sending schedule | 5 min |
| 4 | Activate the sequence | 2 min |
| 5 | Add your first contacts | 8 min |
Link your sending mailbox
Sequences are outreach campaigns that send a planned series of emails and other touchpoints to contacts over time. Sequences themselves don't have a default sender for their emails. Instead you choose the sending mailbox each time you add contacts to the sequence. To get started, link your mailbox. Each person must sign in and authorize their own mailbox.
- Launch Apollo and click Settings > Outbound > Mailbox.
- Click Link mailbox.
- Select Gmail or Outlook, agree to the terms of service, then click Link mailbox.
- Select the email account you want to link, or sign in to it. Review and approve the requested permissions.
Create a short sequence
Use a template for your first sequence so you can focus on the message and audience instead of building every setting from scratch.
- Launch Apollo and click Sequences.
- Click Create Sequence.
- Click Templates, select a template that fits your goal, then click Create and customize.
- Click each sequence step to edit the message for the contacts you plan to reach.
- Click ... > Edit to adjust the time between steps.
Keep the first sequence focused: an initial email and one follow-up are enough to test your audience and message.
Use the AI writing assistant to help you draft email content.
Review your message and sending schedule
Before you activate the sequence, confirm that the message fits the contacts you selected and that emails send at an appropriate time.
- Open the sequence and click Settings.
- Update the sequence name so your team can identify the audience and purpose later.
- Select the sequence sending schedule you want to use, then click Save Changes.
Automatic emails send during the schedule's allowed sending windows. Manual email, phone call, LinkedIn, and action-item tasks can become available outside those windows but require manual action to complete.
Activate the sequence
- Review each sequence step and confirm that the steps you want to use are turned on.
- Click Activate.
A sequence must be active before you can add contacts to it.
Add your first contacts
Add a small group of saved contacts first. Apollo enrolls each eligible contact individually at step one based on the sequence sending schedule.
- Open your active sequence and click Add Contacts > Select list.
- Select the list that contains the people you want to contact.
- Select the mailbox you want to use to send sequence emails.
- Keep contact validation enabled so Apollo can identify missing emails, ownership conflicts, job changes, and contacts already active in another sequence.
- Click Add contacts.
- Review any enrollment warnings, resolve the affected contacts if needed, then click Sequence selection.
When you are ready to add more contacts, review the first group's delivery and reply results before you expand the sequence.
Learn more about adding contacts to a sequence.